Welcome, table wizards! If you work frequently with Excel, you know how much the way we present text in our spreadsheets can make the difference between anonymous data and information that really communicates. With this complete guide, inspired by the valuable advice of Gianluca from La Formula Magica Excel, you will discover how to transform simple text into real visual communication. You will learn how to use fonts, sizes, styles, colors, and much more to give personality to your data and make your tables clear, readable, and attractive.

Table of contents
- 🔤 Why format text in Excel?
- 🎨 How to start formatting text in Excel
- ✍️ Fonts and sizes: how to choose
- 🖋️ Text styles: bold, italic, and underline
- 🌈 Text color: how to choose and apply
- ⚙️ Advanced text formatting settings
- 📋 Summary of the main text formatting possibilities
- ❓ FAQ: Frequently asked questions on text formatting in Excel
- 🚀 Conclusion: take your text formatting to the next level
🔤 Why format text in Excel?
Often, when we insert text in Excel, it appears as simple content, without any distinction or emphasis. But text can become much more: it can guide the user's attention, highlight key information, and make data more understandable. Formatting text is not just an embellishment, it is a real magic formula to communicate effectively through spreadsheets.
Imagine having a table with many numbers and words: without good formatting, the eye gets lost easily. But if you use different fonts, sizes, and colors, you can create visual hierarchies, highlight titles, underline the most important data, and make the whole thing more readable.
🎨 How to start formatting text in Excel
Text formatting in Excel is mainly found in the ribbon, under the Home menu. If you are in another tab, just click on Home to quickly access all font formatting options.
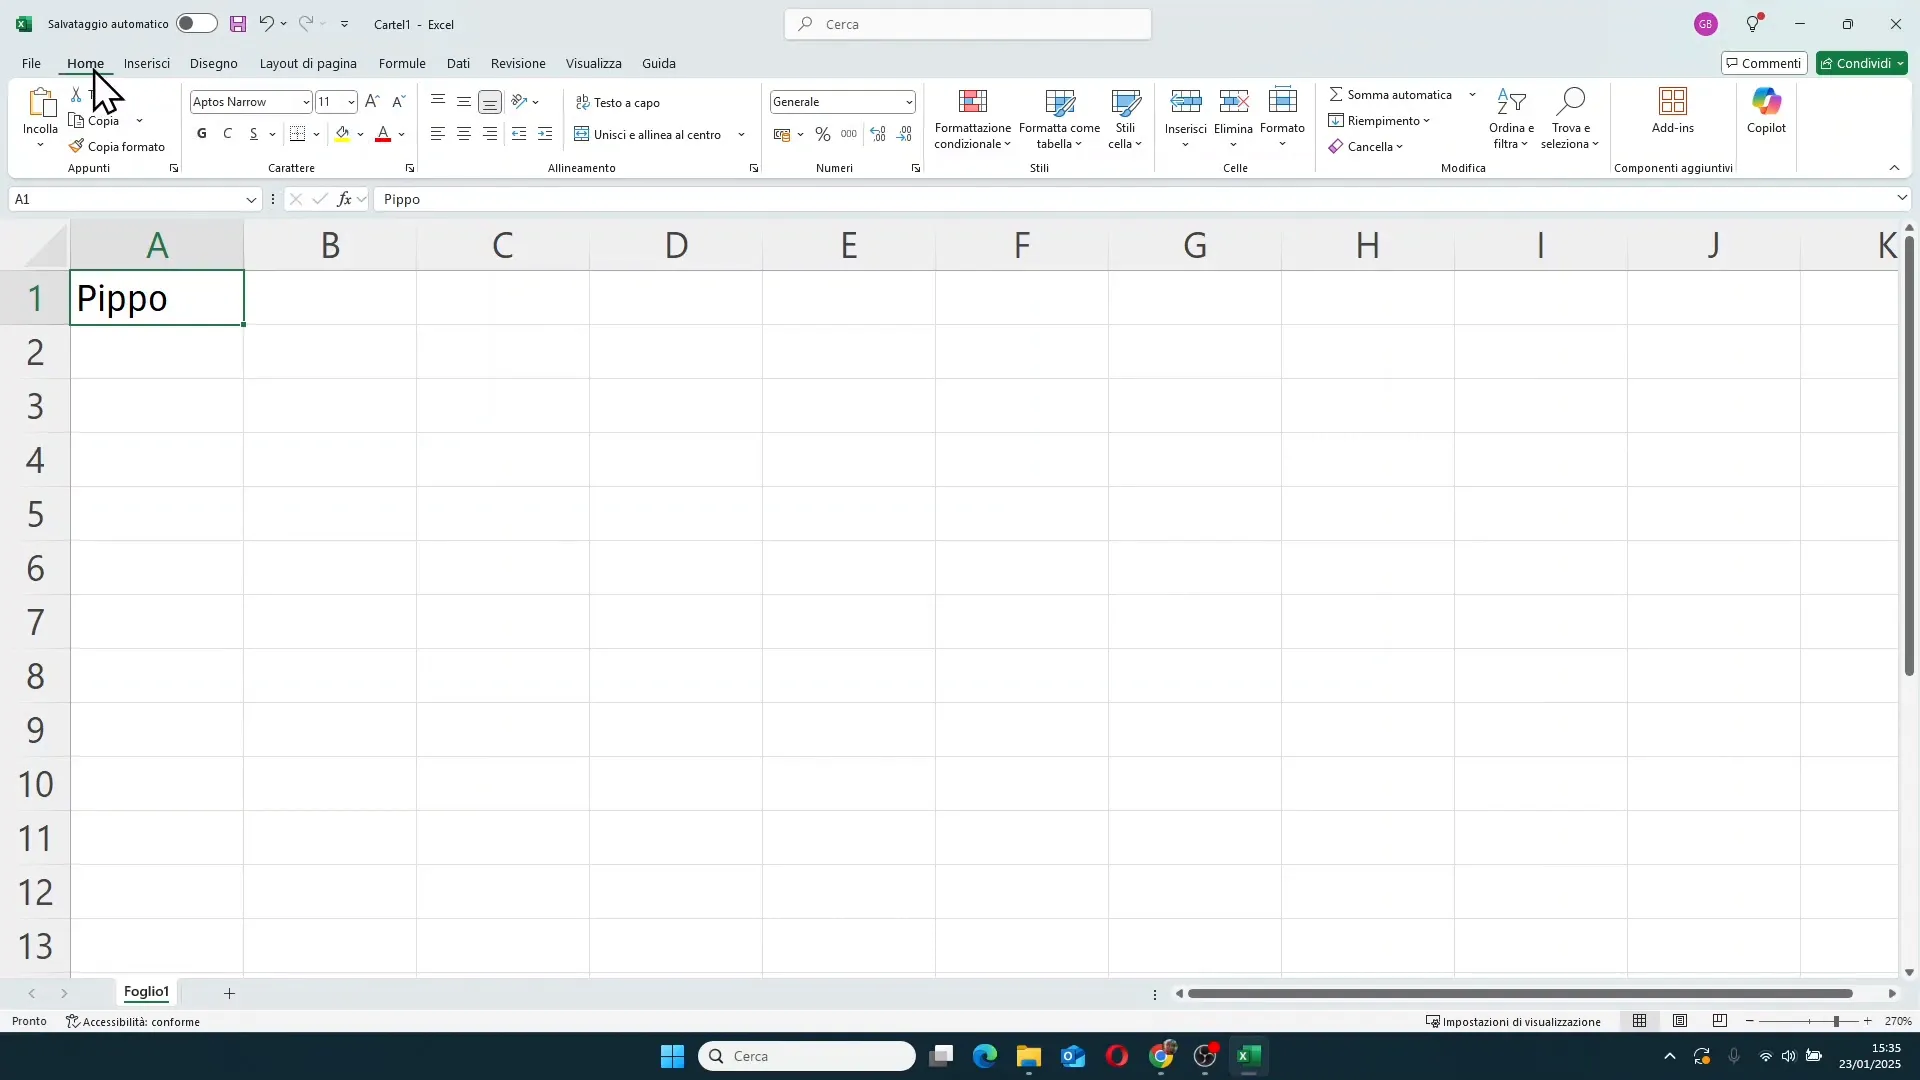
When you select a cell containing text, in the ribbon you will see:
- The font type (for example Calibri, Arial, or other available fonts)
- The text size
- Buttons to increase or decrease size
- Buttons to activate bold, italic, and underline
- The font color button
These are the basic settings that allow you to start customizing your text.
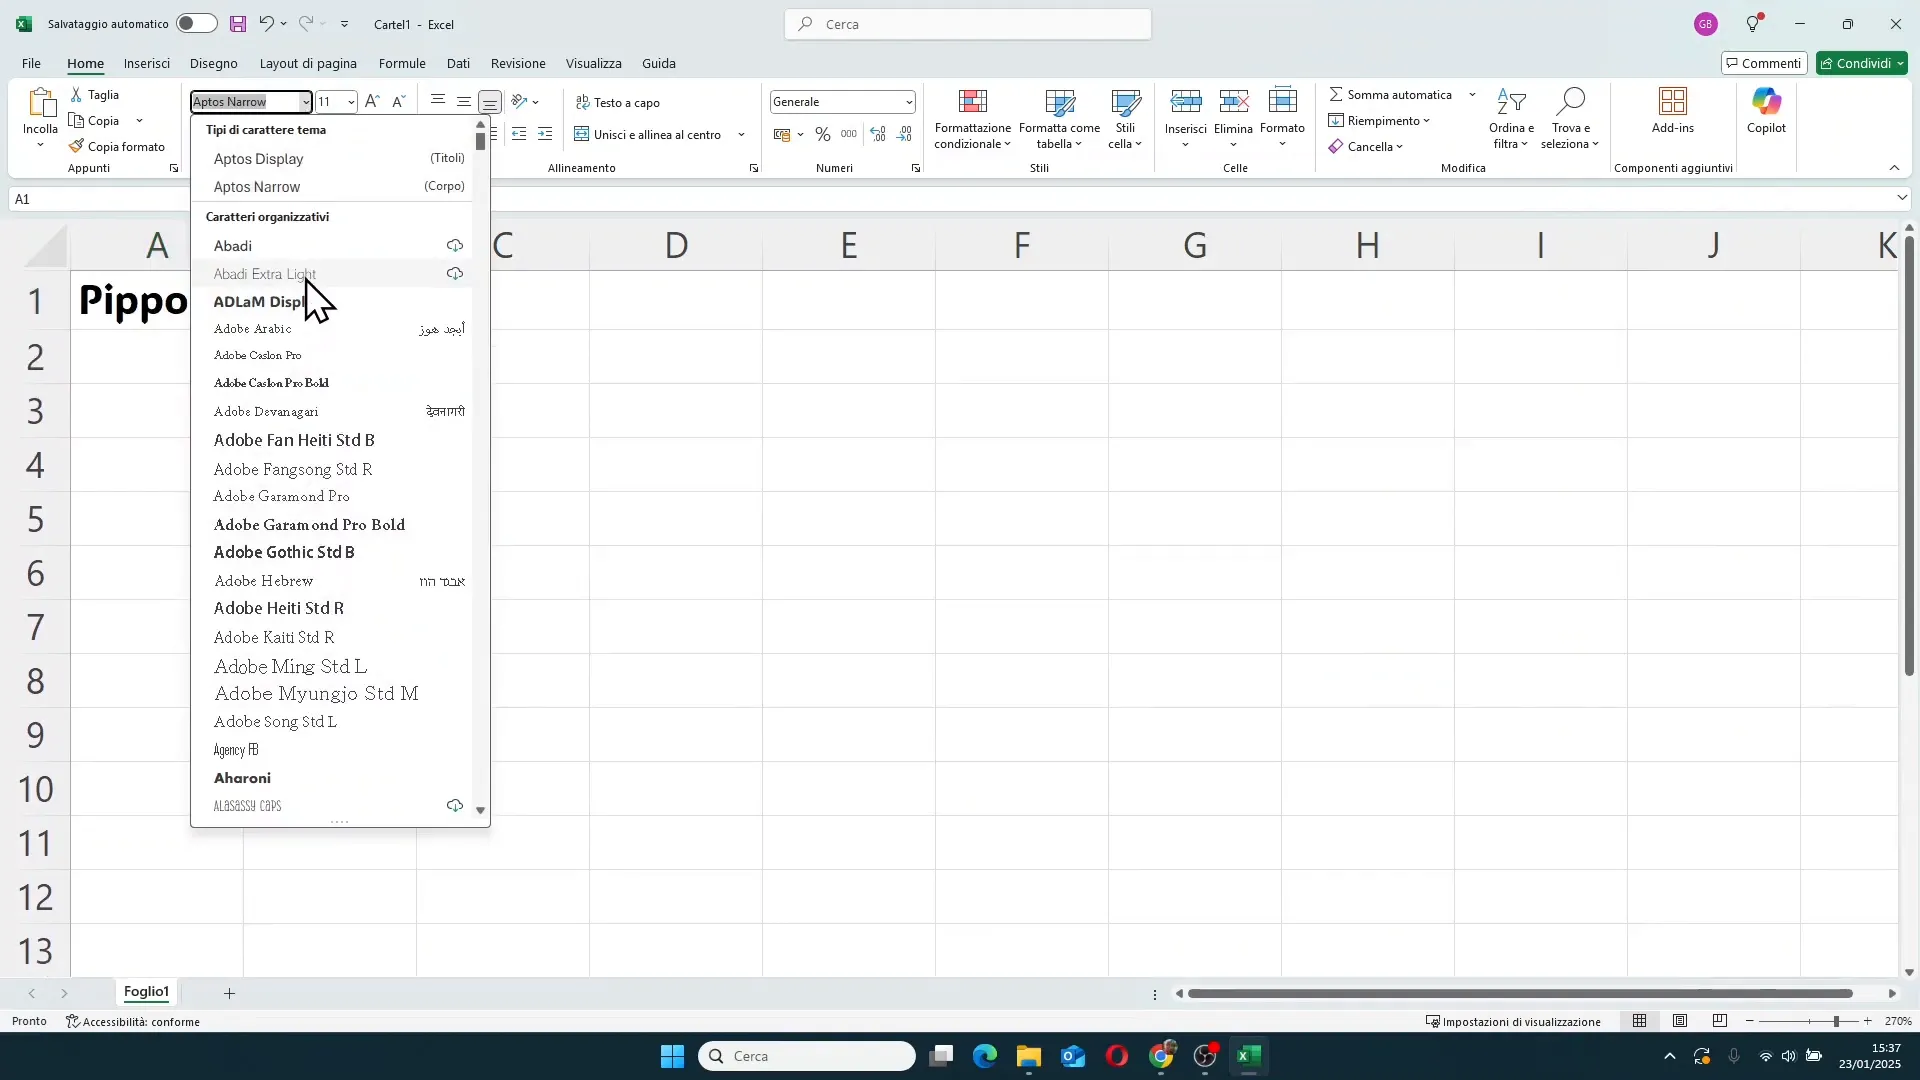
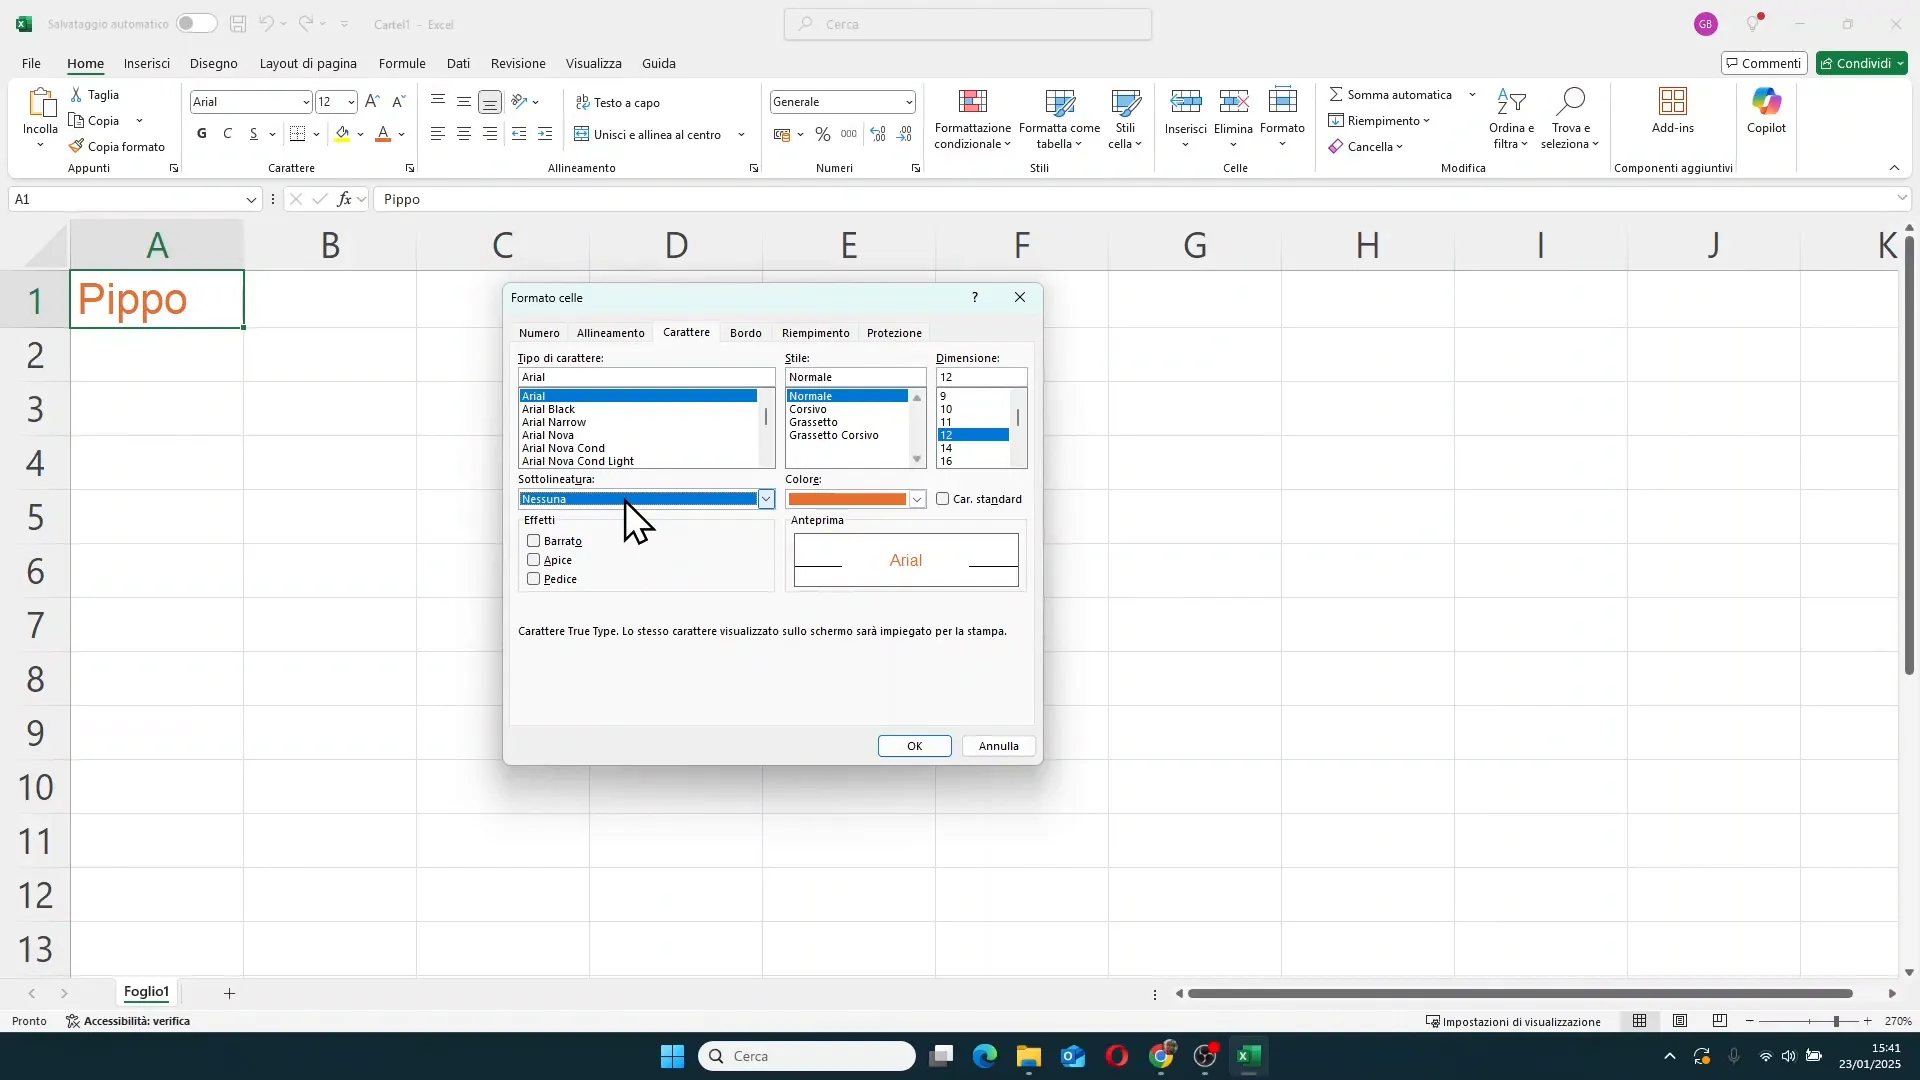
✍️ Fonts and sizes: how to choose
Font type is the first element that gives personality to text. Excel offers a wide range of fonts, and you can choose them by clicking on the arrow next to the font name in the ribbon.
Font size is equally important. You can change it manually by entering a precise number or by using the *increase* and *decrease* buttons to change the size one step at a time.
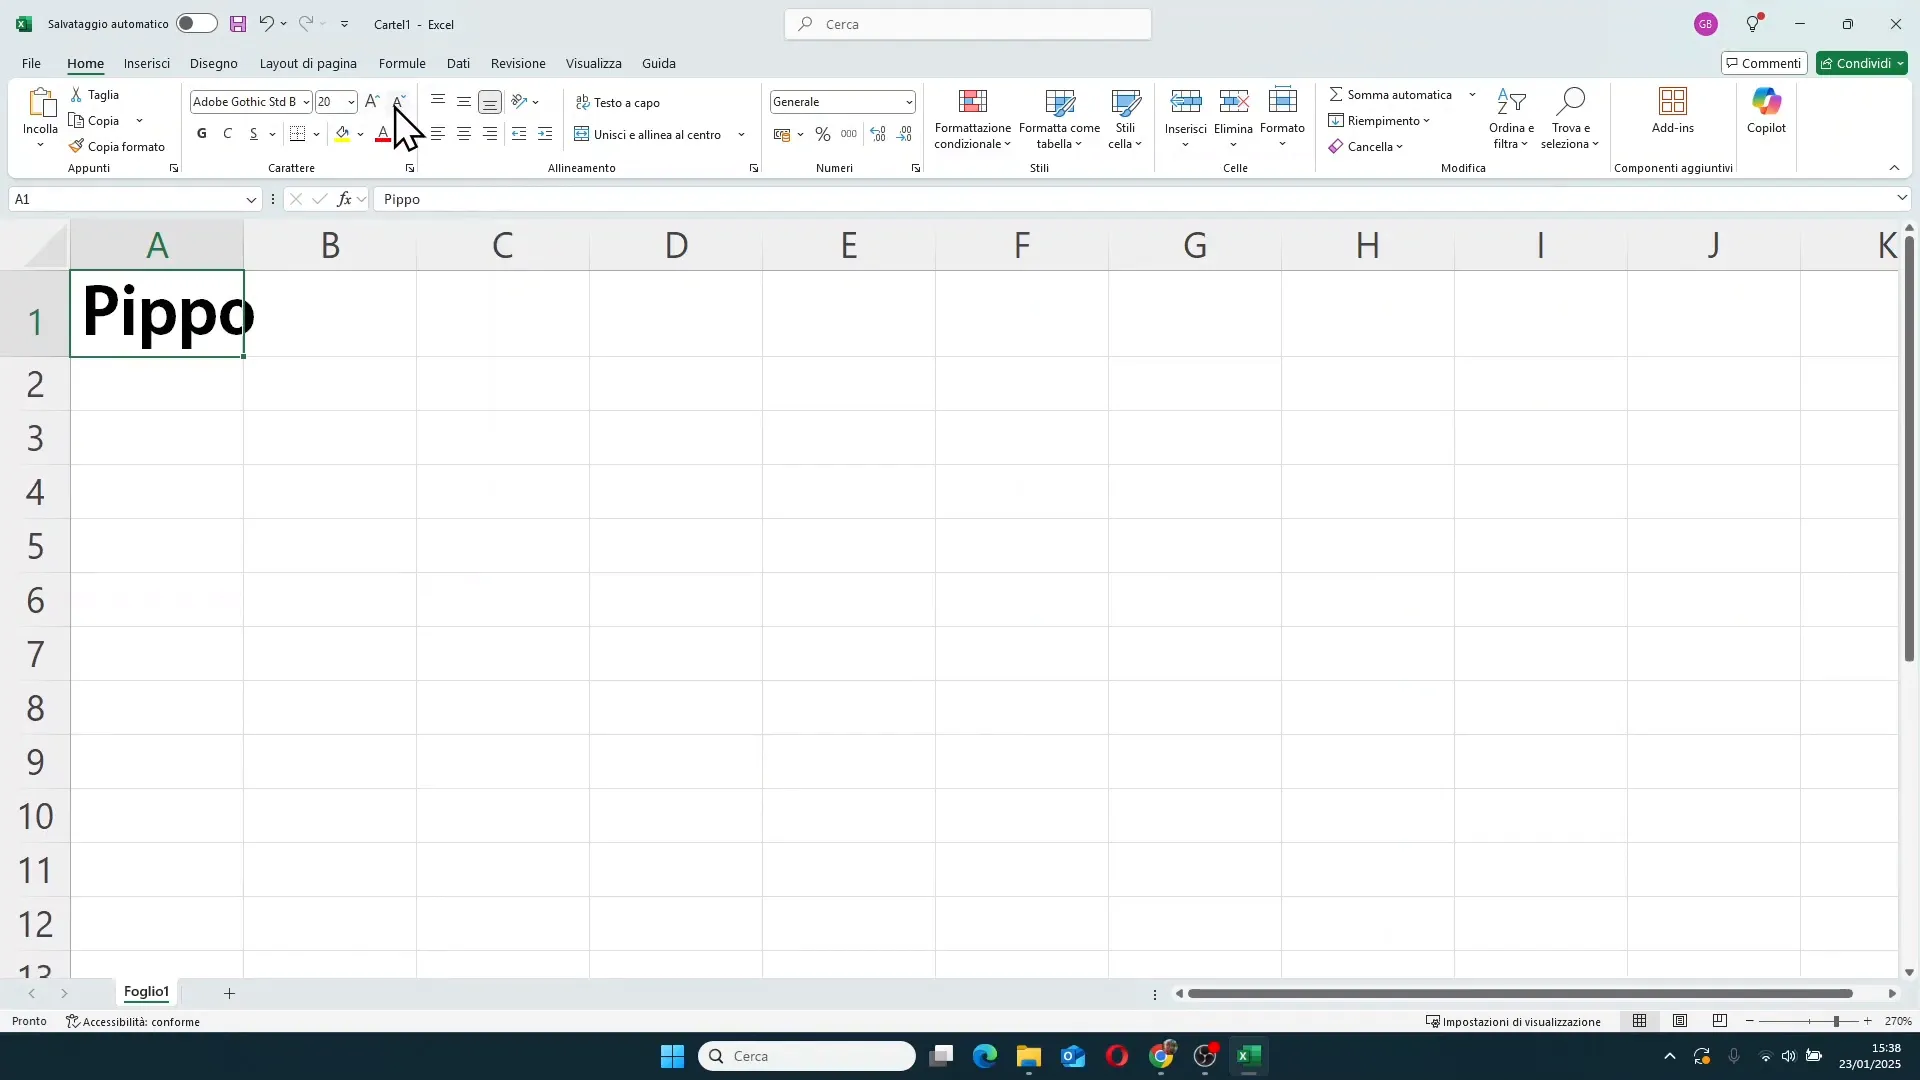
A good practice is to use larger sizes for titles and smaller sizes for content, thereby creating a clear and immediate visual hierarchy.
🖋️ Text styles: bold, italic, and underline
To give greater emphasis to text, Excel allows you to easily apply the three fundamental styles:
- Bold: makes the text thicker and more visible.
- Italic: tilts the text to give a different emphasis or style.
- Underline: adds a line under the text, with the choice of single or double underline.
These styles can be activated individually or combined for an even stronger impact. In addition, there are very convenient keyboard shortcuts:
- CTRL + B to activate or deactivate bold
- CTRL + U to activate or deactivate underline
These shortcuts allow you to work faster without having to use the mouse.
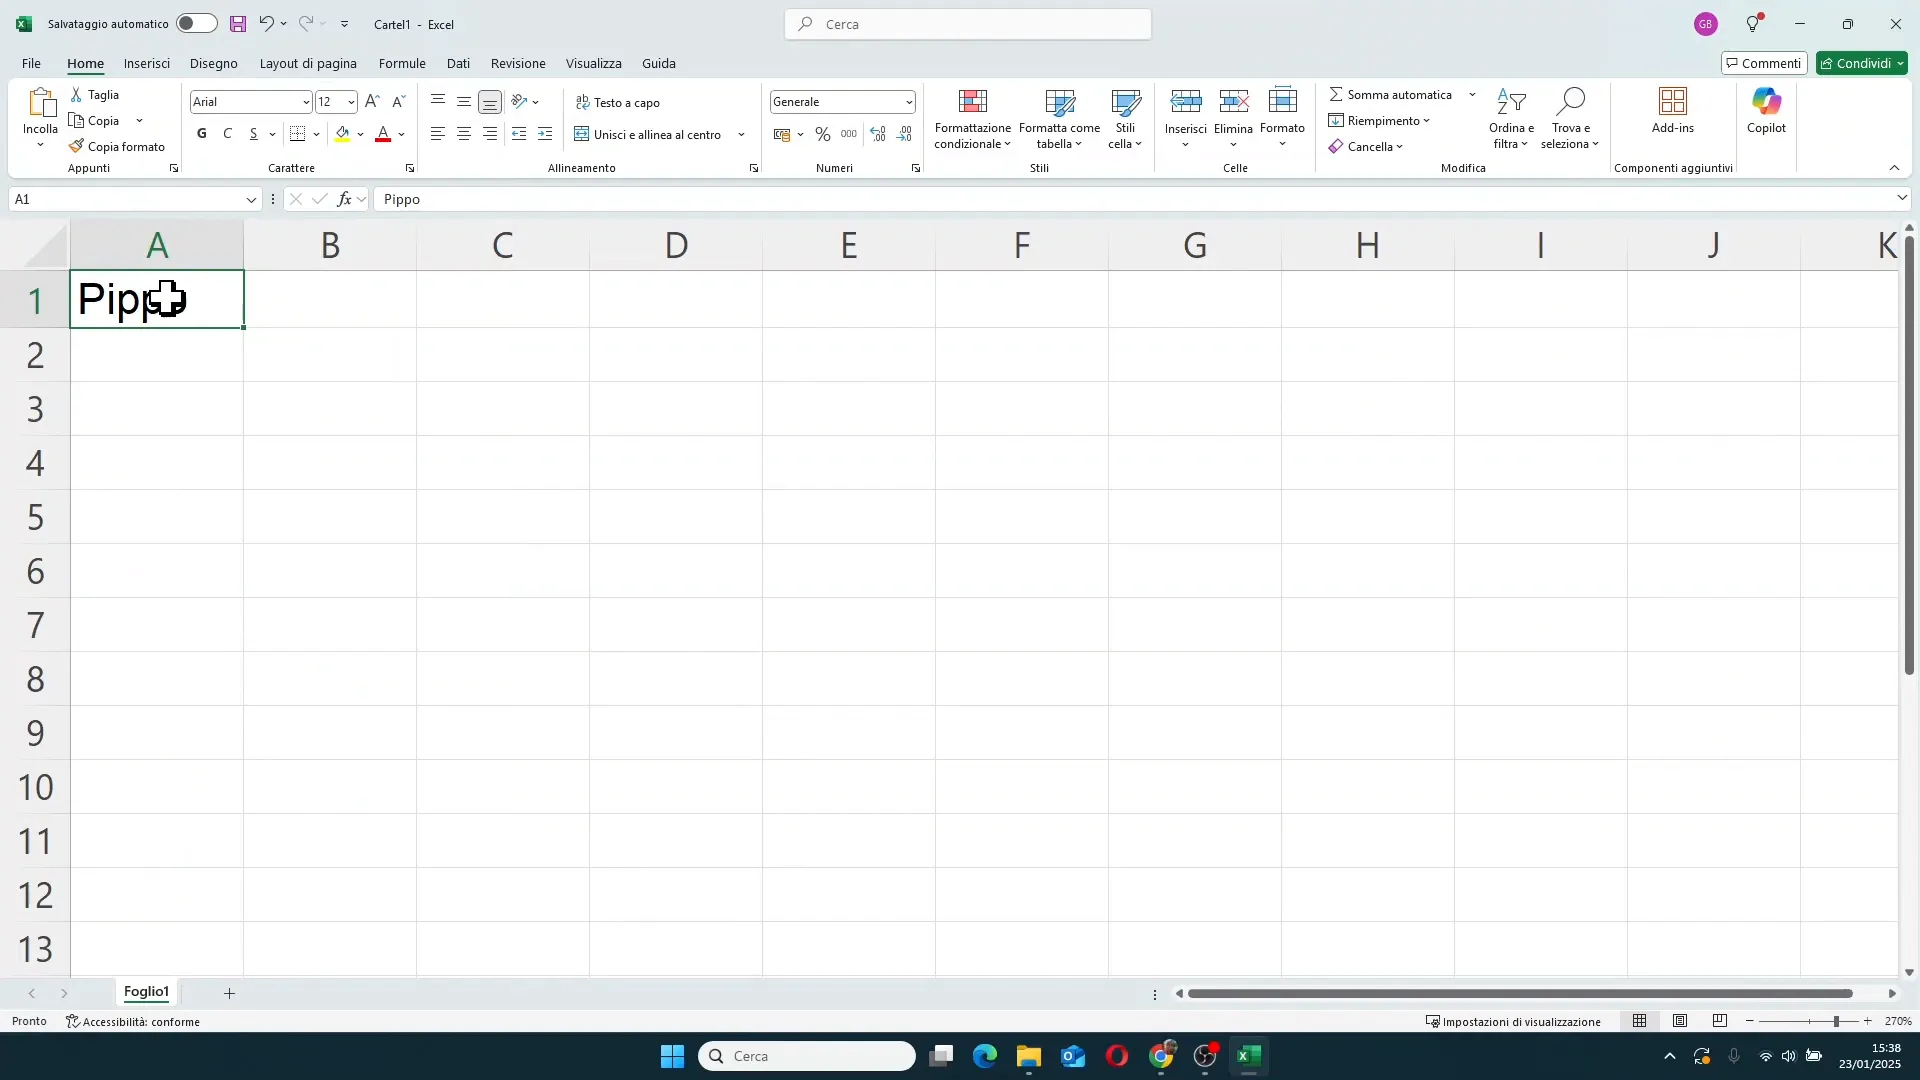
🌈 Text color: how to choose and apply
Font color is a powerful tool to highlight parts of text or to create a visual identity consistent with your project or company. In Excel, you can change text color in two ways:
- Clicking directly on the color button, which applies the color displayed under the letter.
- Clicking on the arrow next to the button to open the color palette and choose the one you prefer.
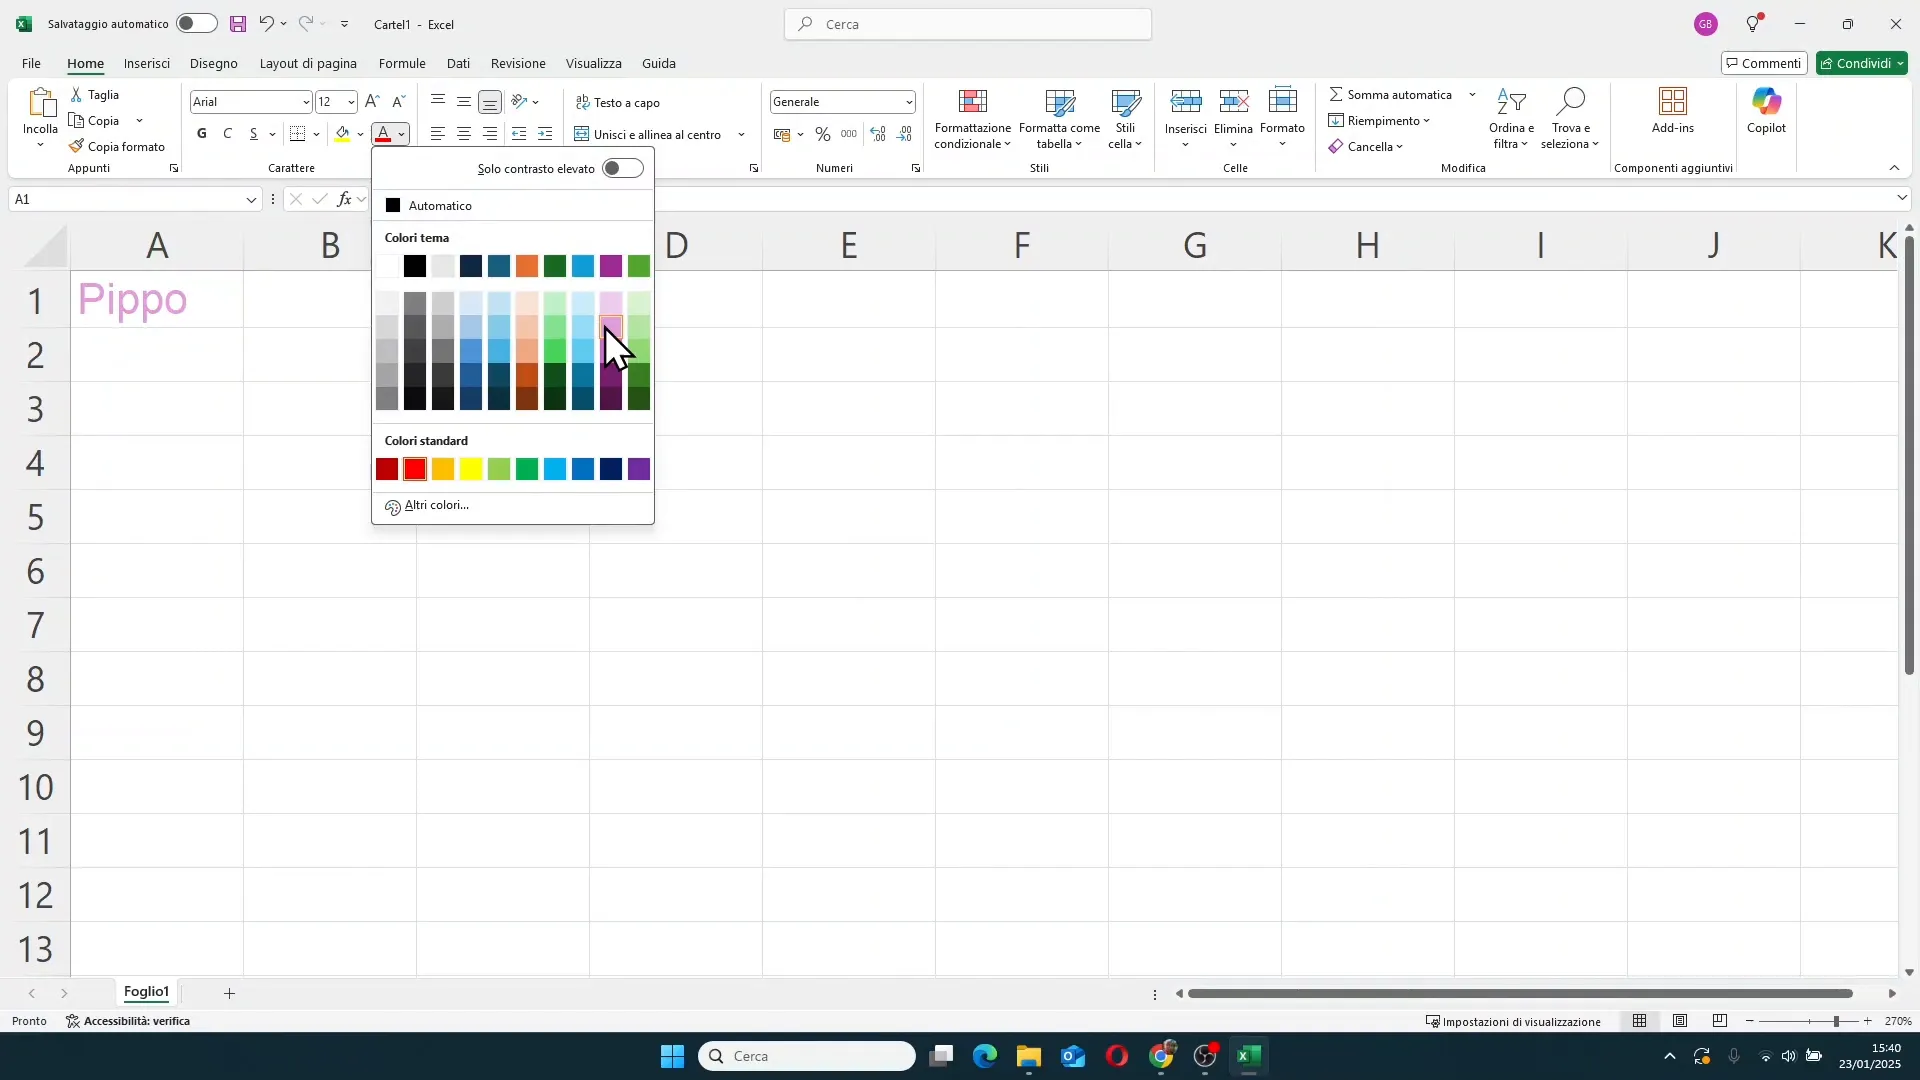
Using colors with criteria will help you distinguish categories, priorities, or simply make the sheet more pleasing to the eye.
⚙️ Advanced text formatting settings
In addition to basic options, Excel offers a window dedicated to advanced font settings. You can access it by clicking on the corner at the bottom right of the Font section in the ribbon, or with the convenient keyboard shortcut CTRL + 1.
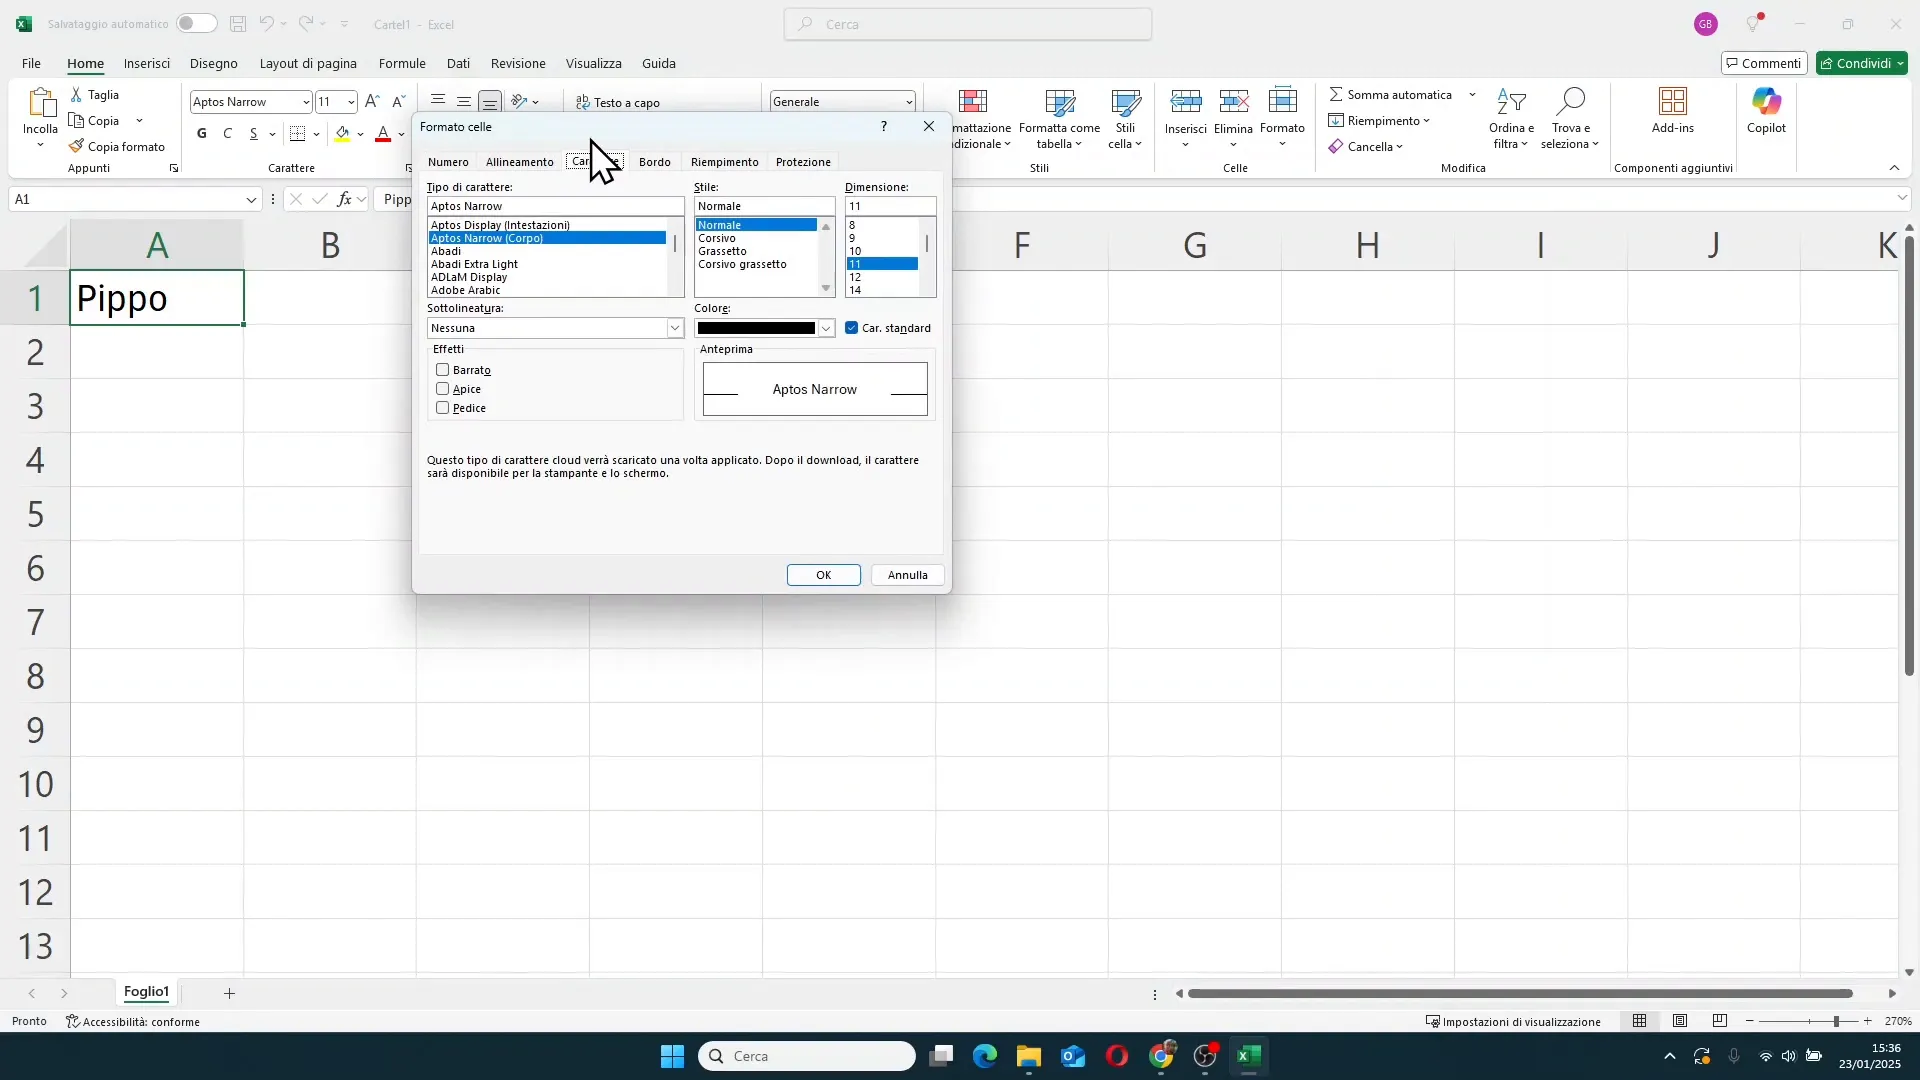
In this window you will find all the options seen before, but also other interesting features:
- Strikethrough: adds a line running through the text, useful for indicating deleted or no longer valid data.
- Superscript: makes the text smaller and positioned at the top, ideal for exponents or notes like "m²".
- Subscript: makes the text smaller and positioned at the bottom, often used in chemical or mathematical formulas.
For example, if you have written Pippo2, you can select the number 2 and apply superscript to make it appear small at the top, or subscript to position it at the bottom. These details can significantly improve the readability and professionalism of your spreadsheets.
📋 Summary of the main text formatting possibilities
In summary, the main text formatting options in Excel are:
- Font type: choose the font best suited to your data.
- Size: adjust text size to create visual hierarchies.
- Bold, italic, and underline: emphasize text with simple but effective styles.
- Text color: use colors to distinguish or highlight.
- Special effects: strikethrough, superscript, and subscript for advanced customization.
These features, if used wisely, transform your data from simple numbers or words into powerful and clear visual communication.
❓ FAQ: Frequently asked questions on text formatting in Excel
How can I quickly change the font in Excel?
Just select the cell or range of cells, then click on the arrow next to the font name in the ribbon under the Home tab and choose the desired font from the list.
What is the keyboard shortcut to open the Format Cells window?
Press CTRL + 1 to directly open the Format Cells window, from which you can access the Font tab for advanced customization.
Can I apply multiple styles (bold, italic, underline) at the same time?
Yes, the three styles can be combined freely to achieve the desired effect. You can activate them individually or in groups using the buttons or keyboard shortcuts.
How do I apply superscript and subscript to text in a cell?
Select the portion of text you want to modify, open the Format Cells window (CTRL + 1), go to the Font tab and choose superscript or subscript effect. Confirm with OK.
Is it possible to change the text color in multiple cells at the same time?
Yes, select all the target cells and then choose the desired text color. The change will be applied to all selected cells.
🚀 Conclusion: take your text formatting to the next level
Text formatting in Excel is much more than a simple aesthetic issue: it is a fundamental tool for communicating your data clearly and effectively. Thanks to options like font choice, size, styles (bold, italic, underline), color, and special effects like superscript, subscript, and strikethrough, you can transform any table into an impactful visual presentation.
Do not settle for generic, hard-to-read tables: with a little practice and the right knowledge, you can become true Excel wizards, capable of giving personality and clarity to your spreadsheets.
If you want to go deeper and customize your Excel learning path, you can consider tailor-made courses like those offered by Gianluca, who analyzes your goals and creates a custom training path for you or your company. Do not hesitate to visit www.gianlu.it or contact him directly via email or phone for a customized consultation.
Thank you for reading this complete guide to text formatting in Excel. Happy coding and see you at the next level with your spreadsheets!