Hello everyone, I'm Gianluca from La Formula Magica Excel, and today I want to share a comprehensive and practical tutorial on how to transform a simple spreadsheet into a professional and appealing document using cell formatting in Excel. If you work often with Excel, both for professional reasons and for personal projects, you know how important it is to make your worksheets not only functional but also clear and pleasing to the eye.
In this article, I will explain step-by-step how to effectively use colors and borders to give personality to your documents, improving their readability and interpretation. I will guide you through the cell formatting tools, illustrating how to choose colors, apply custom borders, and create well-defined tables that capture attention and facilitate the understanding of data.

Table of contents
- Why is cell formatting important?
- How to apply colors to cells in Excel
- How to format cell borders for better definition
- Using the 'More Borders' window for advanced customization
- How to open the formatting cells window and customize borders and colors
- Conclusions and final tips
- FAQ: Frequently asked questions about cell formatting in Excel
Why is cell formatting important?
Often, when thinking of Excel, one imagines only a set of numbers and formulas. However, a well-formatted spreadsheet can make the difference between a document that is difficult to interpret and one that is clear and professional. Cell formatting helps to:
- Visually organize data: with well-chosen colors and borders, it's easier to distinguish groups of information and categories.
- Highlight key information: thanks to colored backgrounds or thick borders, you can draw attention to important data.
- Improve readability: a sheet with balanced colors and clear borders is easier to read and interpret.
- Give a professional touch: the visual presentation of data is crucial in a working environment or when presenting reports to clients or colleagues.
How to apply colors to cells in Excel
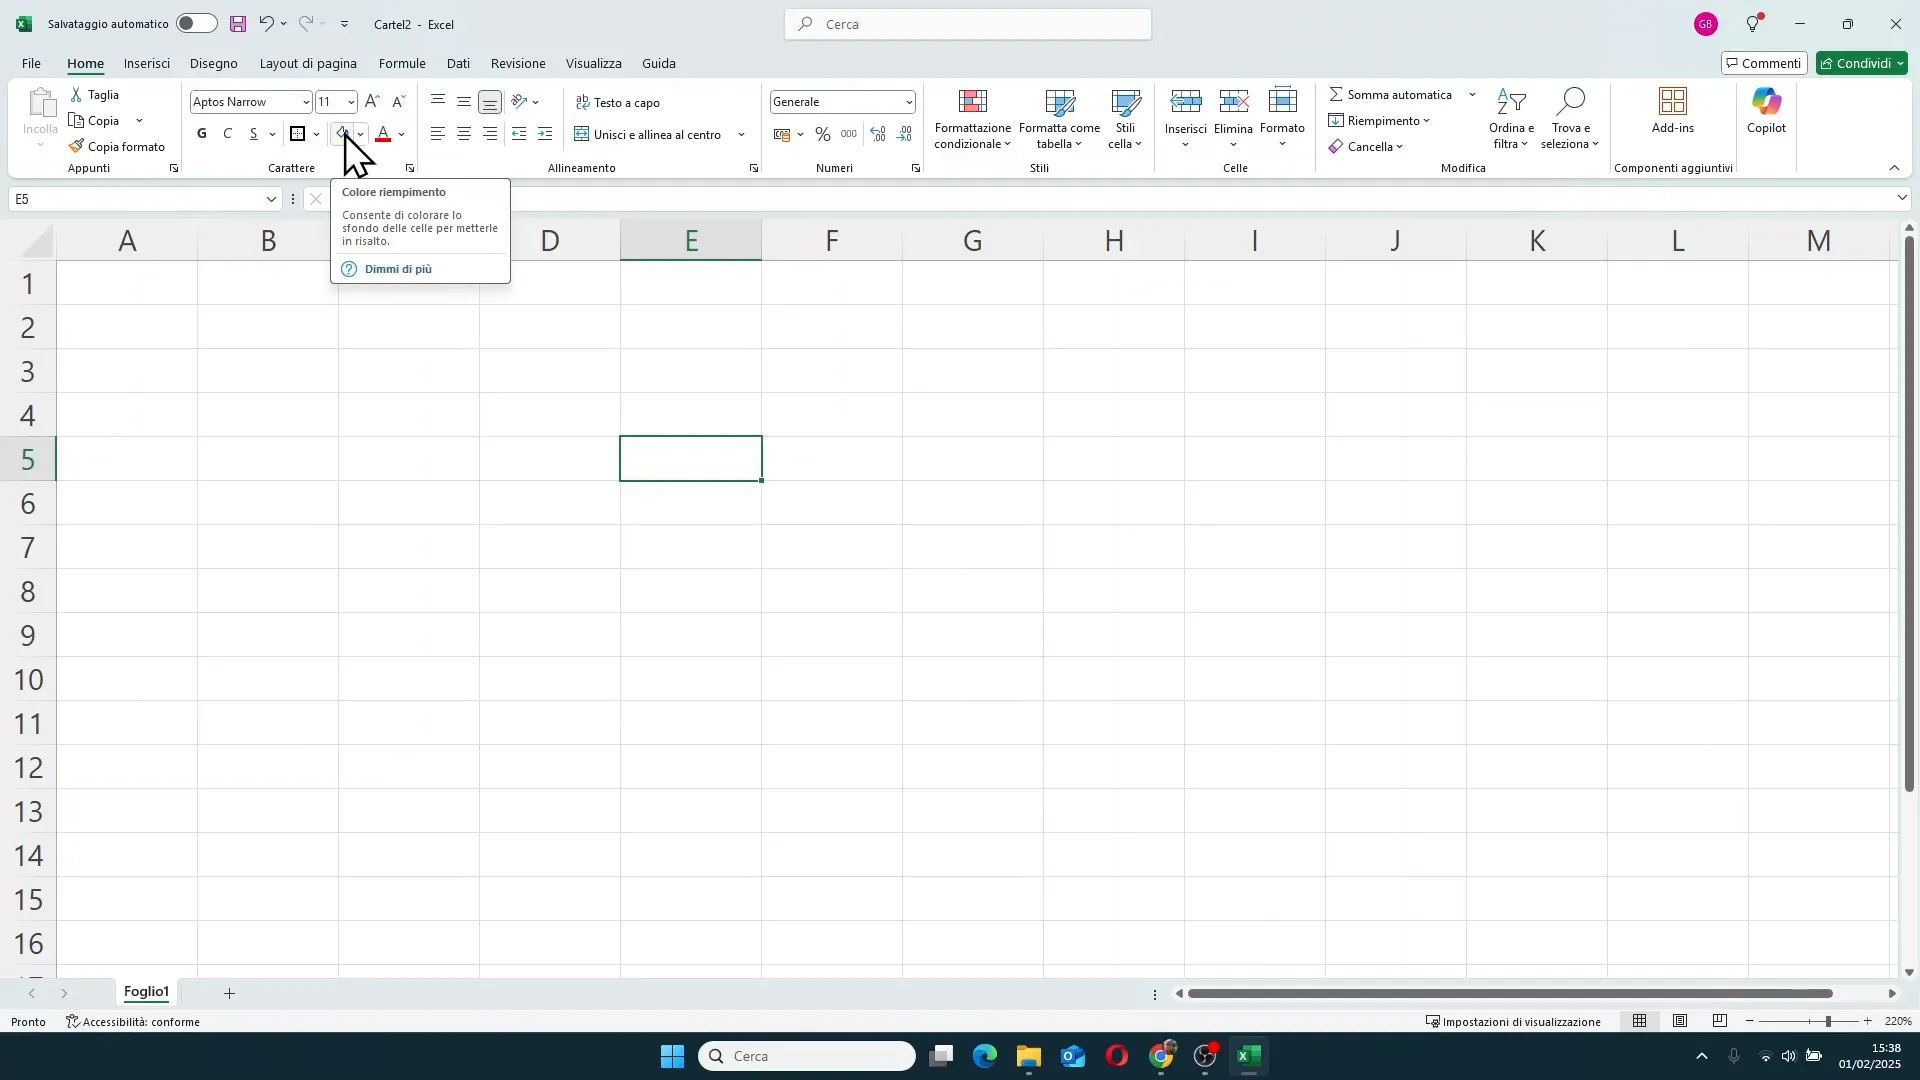
To start customizing your sheet, the first thing to do is select the cell or range of cells to which you want to apply a background color. In Excel, the command to color a cell is found in the font formatting area, represented by a paint bucket icon.
There are two ways to apply the color:
- Direct click on the paint bucket icon: this applies the default color shown under the icon.
- Click on the arrow next to the paint bucket: this opens a menu with a wide selection of colors, divided into theme colors and standard colors that range from lighter to darker. Just select the desired color and it will be applied to the cell.
Another very useful feature is the memory of the most recently used color: the color remains saved under the paint bucket icon, so you can reapply it quickly without having to search for it again in the menu.
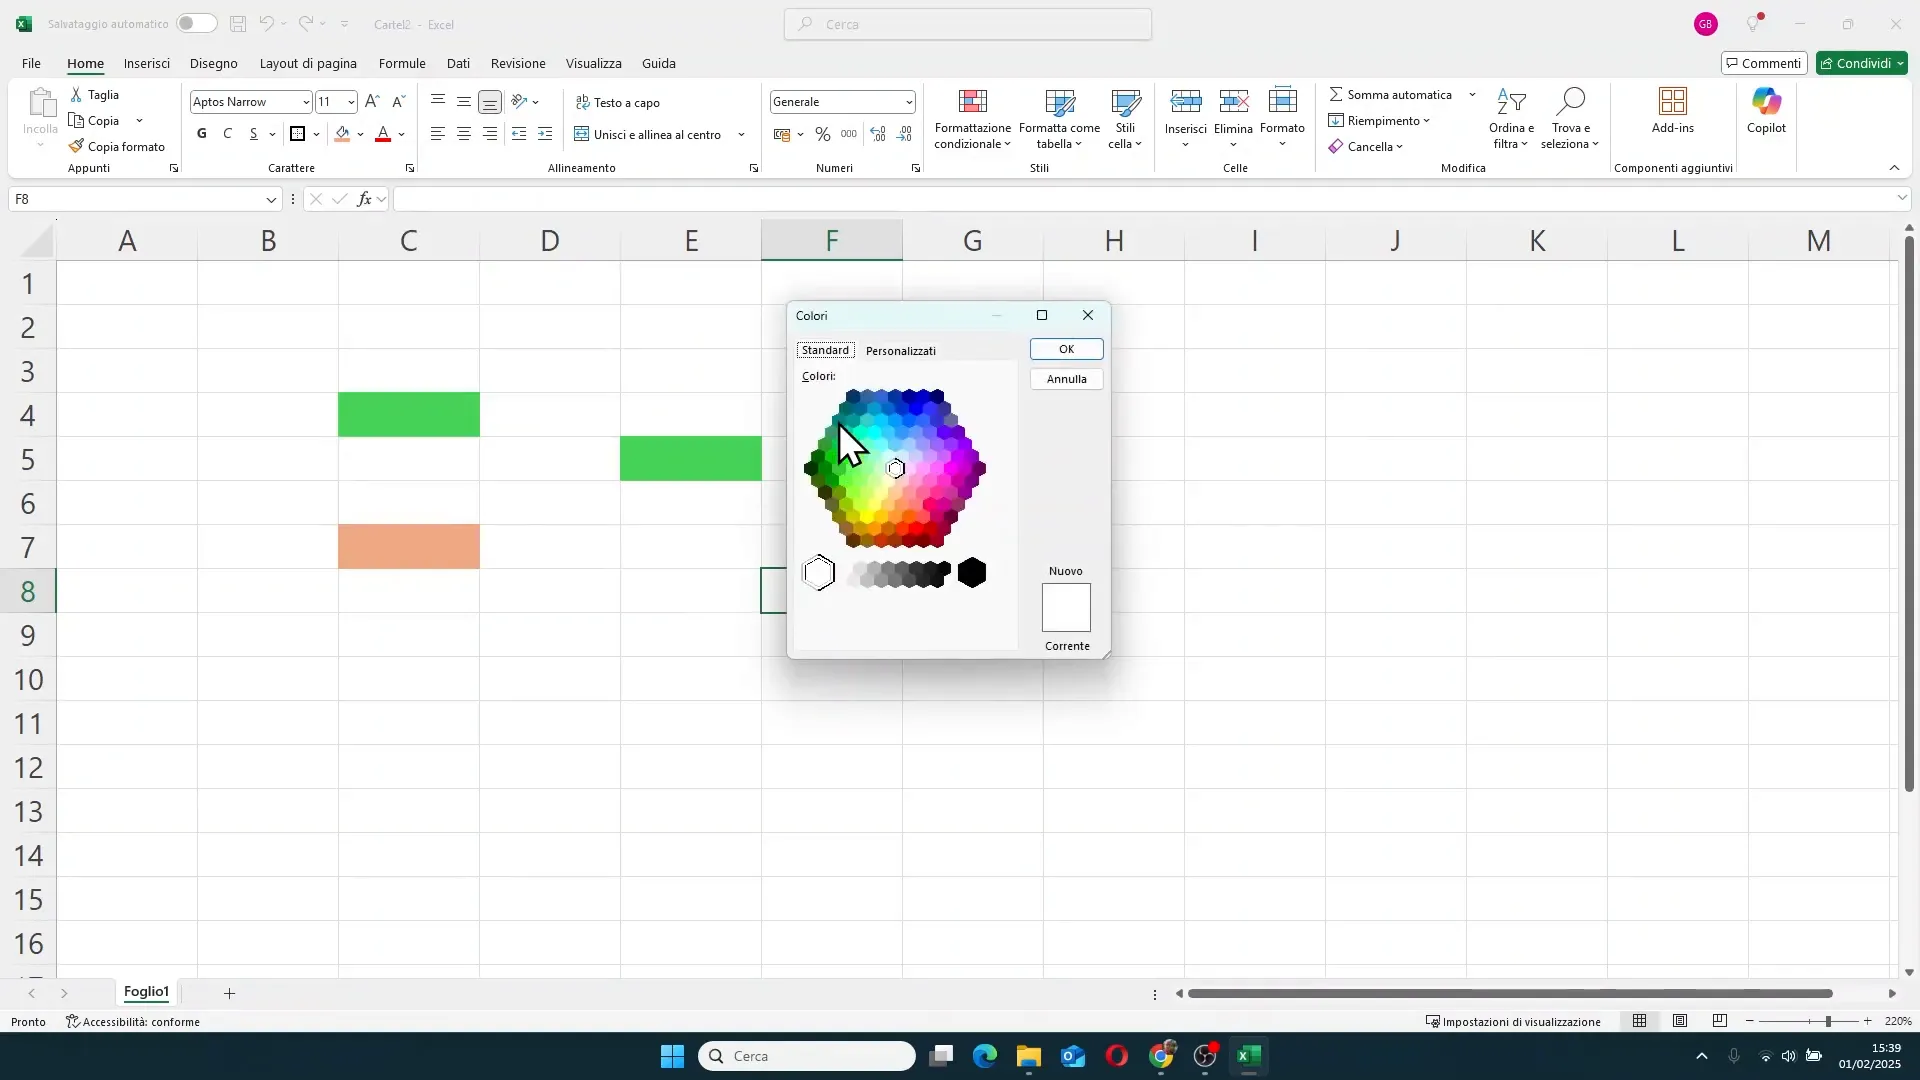
Custom colors: how to choose the perfect shade
If the default colors are not enough, Excel allows you to access a custom palette by clicking on More Colors. Here you can choose an exact color using RGB values (red, green, blue) or manually select a color from the color map. Once chosen, just confirm with “OK” and the color will be applied to the cell.
How to format cell borders for better definition
After learning how to color cells, it is essential to know how to use borders to better define your data, creating clear and visually pleasing separations. The borders button is located right next to the paint bucket icon.
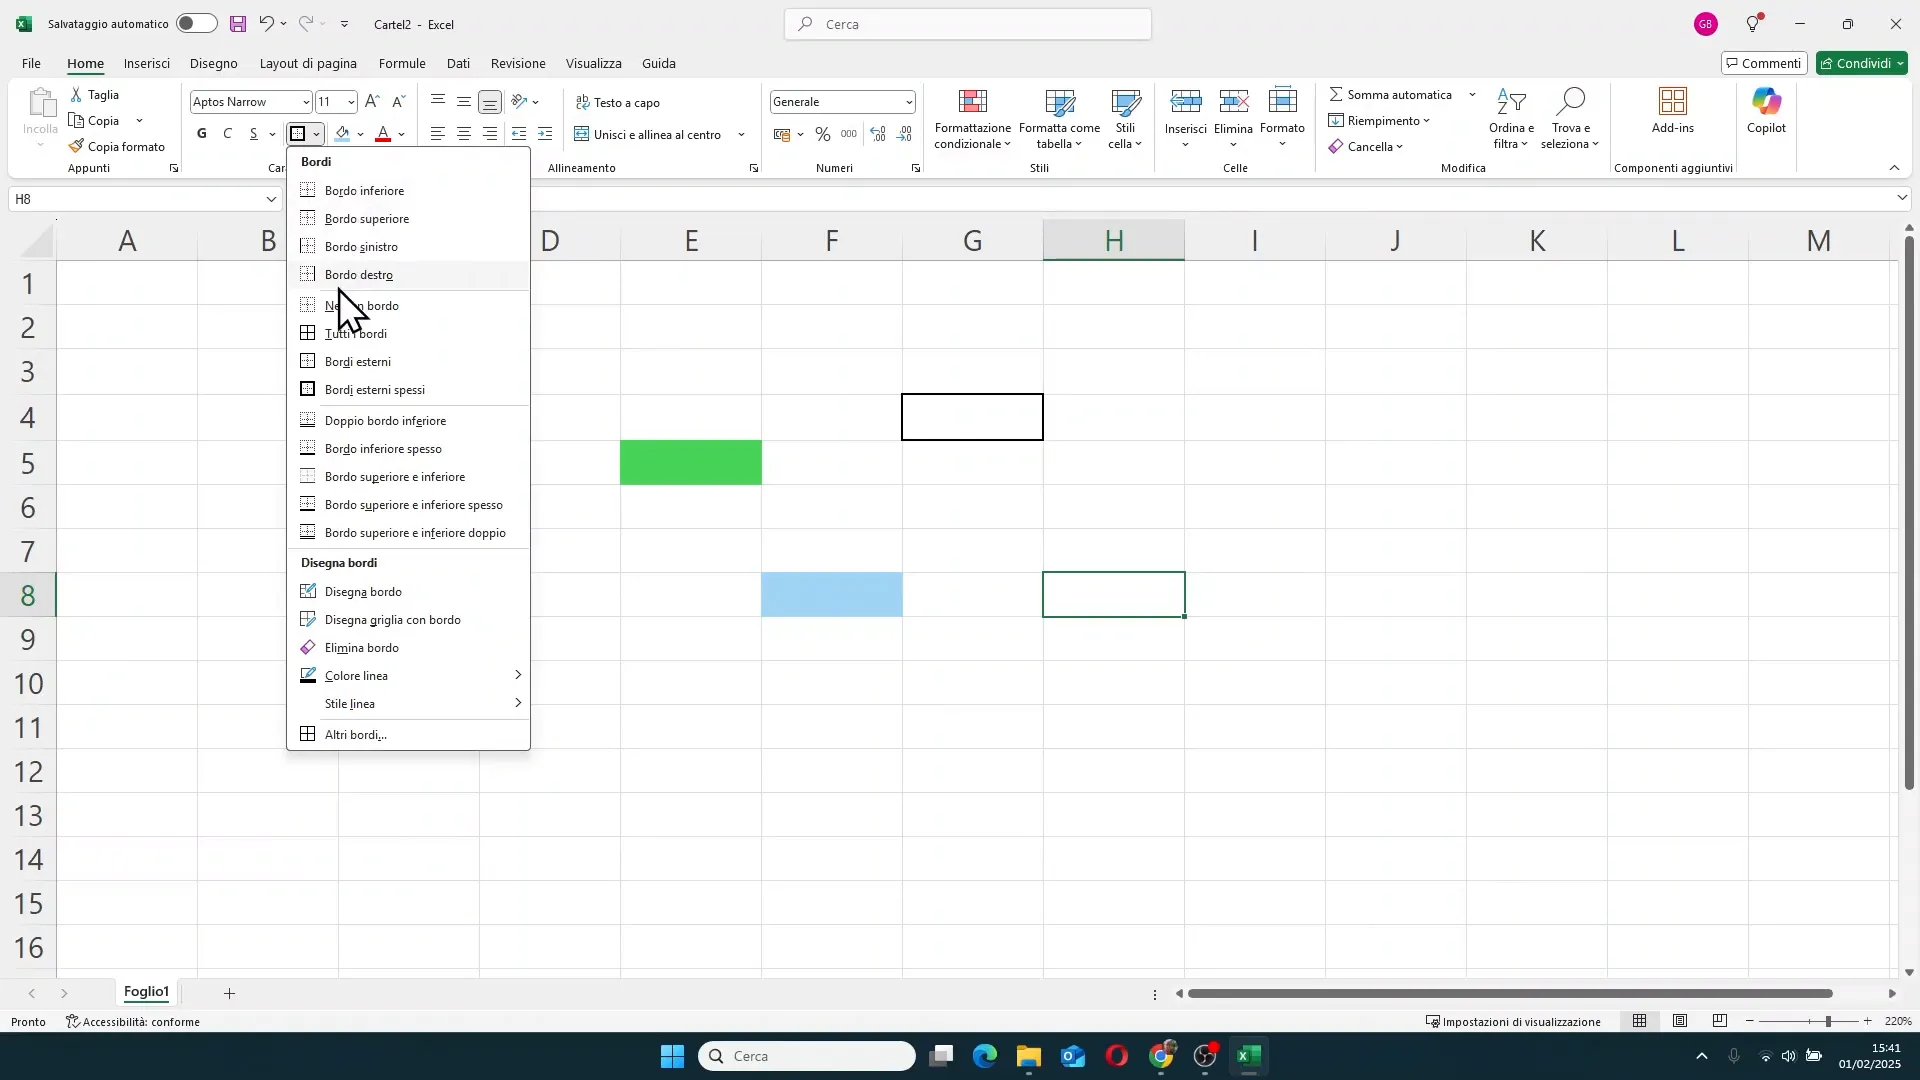
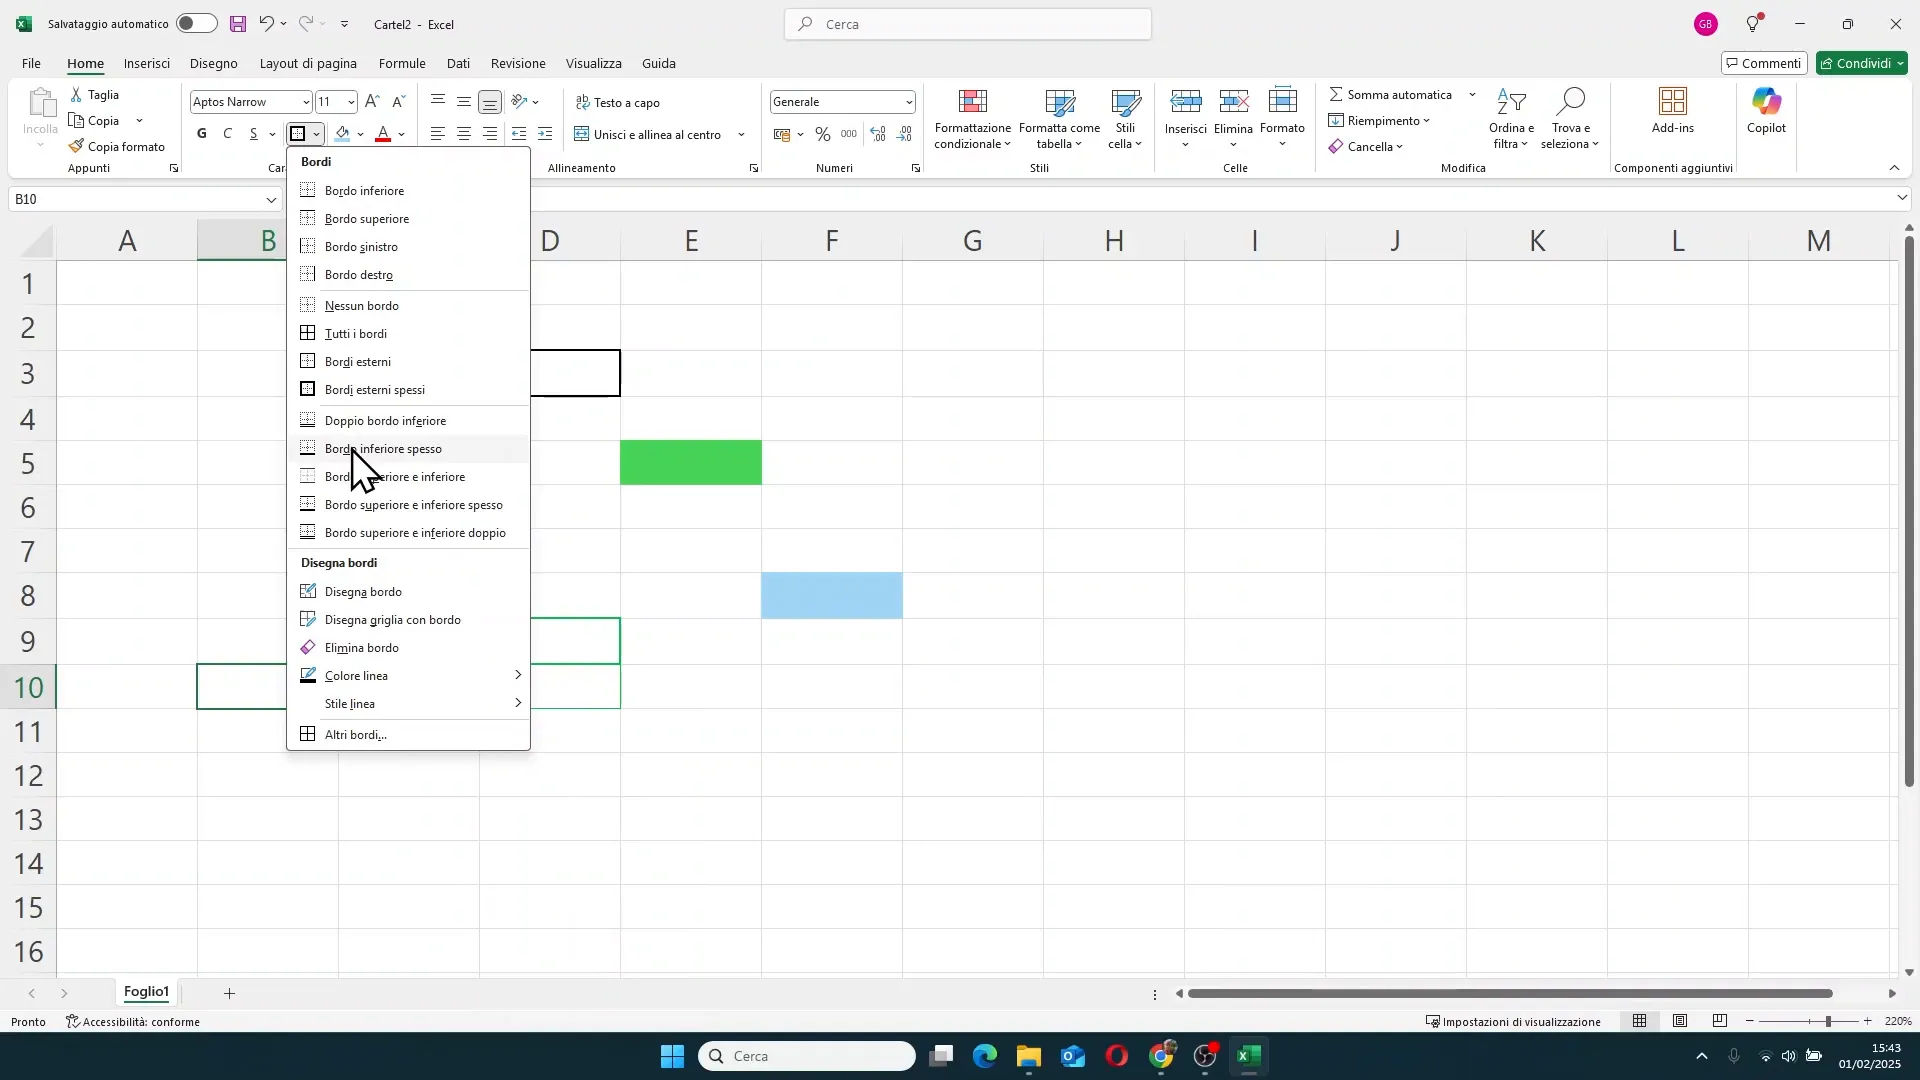
Clicking directly on the borders button applies the last setting used, while clicking the arrow opens a rich menu of options:
- Bottom, top, left, right border
- No border (to remove existing borders)
- All borders (applies borders to all selected cells)
- Outside borders (only the outer contour)
- Thick outside borders
- Double bottom border, top and thick bottom border, etc.
Another interesting feature is the ability to choose the color and style of the border line. By default, the line is black, but you can change it by choosing different colors or styles such as dashed, dotted, thinner, or thicker lines. This allows a very detailed customization to adapt to the specific needs of your document.
Applying borders to groups of cells
When working with tables or cell groups, you can select multiple cells and apply borders uniformly. For example, by choosing All Borders, Excel creates thin lines between all selected cells, while with Thick Outside Borders, a thick border is created only around the entire group, without internal lines.
To achieve a professional effect, a combination of thin internal borders and thick outer borders is often used, so as to clearly define the boundaries of the table and maintain readability within.

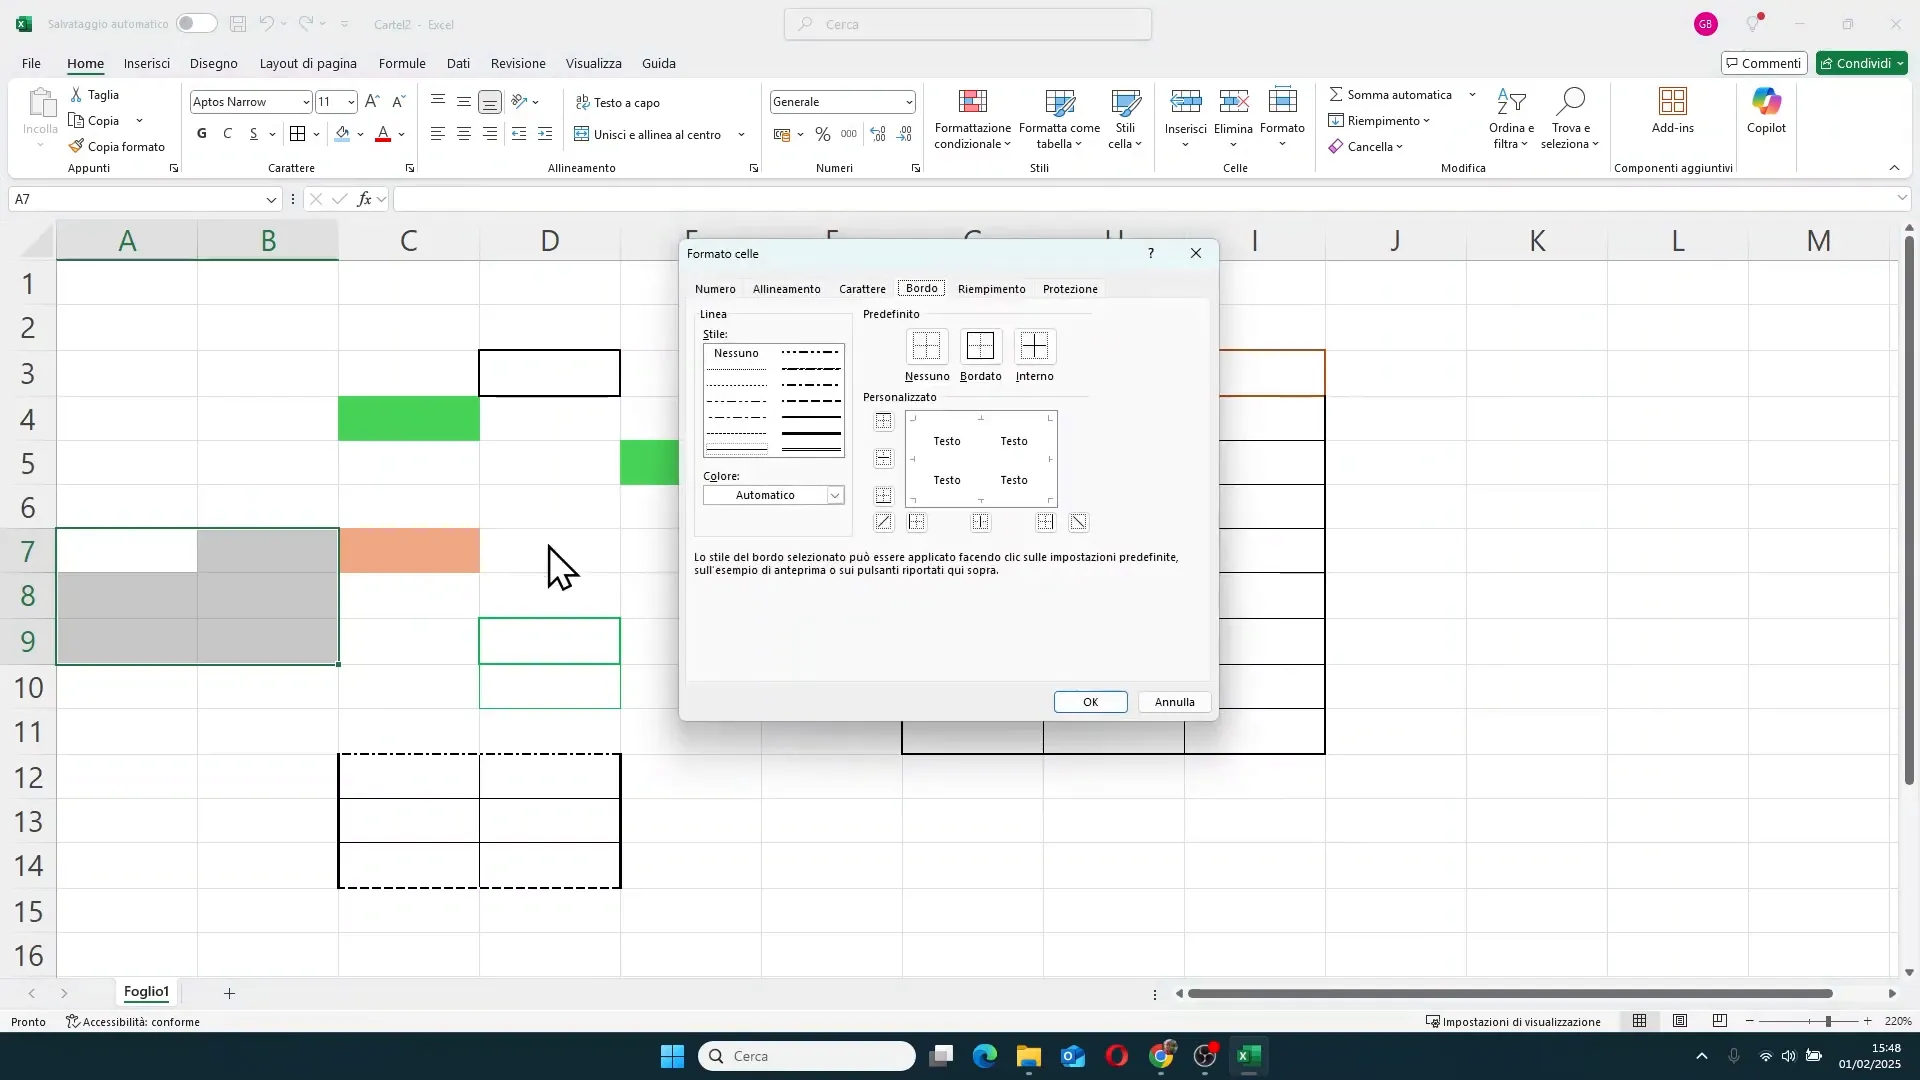
Using the 'More Borders' window for advanced customization
For those who want even more precise control, Excel offers the More Borders window, accessible from the borders menu or via the keyboard shortcut CTRL + 1 (which also opens the Format Cells window). Here you can define exactly which borders to apply, the color, the style, and the position (top, bottom, left, right), both for single cells and for cell groups.
This window also allows you to add diagonal lines inside cells, a very useful function for creating special divisions or highlighting specific data sections.
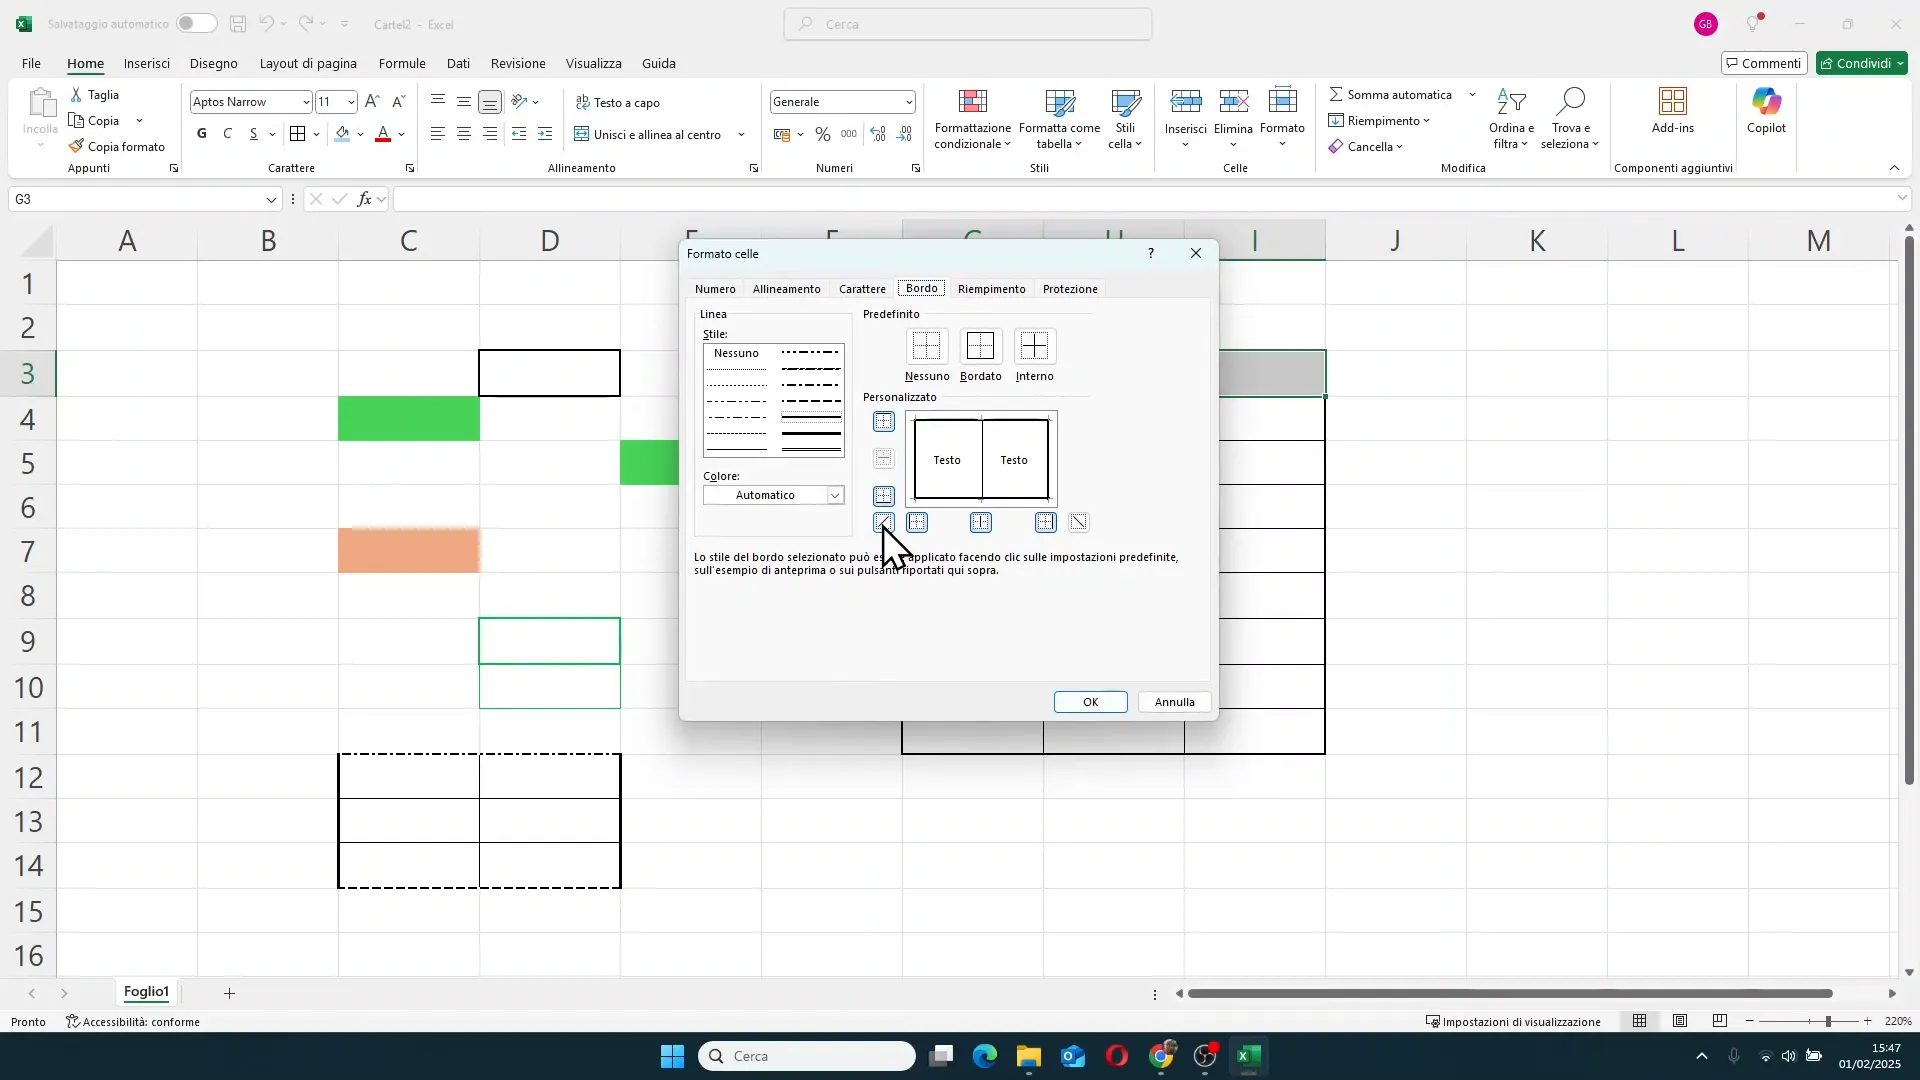
For example, you can set a dashed border at the bottom, thick lines on the sides, and thin internal lines, achieving a unique and refined design for your tables. After defining the settings, clicking on “OK” will update the table with the new custom borders.
How to open the formatting cells window and customize borders and colors
Another method to access all formatting options is to use the Format Cells window, which opens with CTRL + 1 or from the context menu. Here you will find tabs dedicated to Number, Alignment, Font, Border, Fill, and protection.
In the Border tab, you can customize each side of the cell, choose the color and style of the line, and apply diagonal lines. It is the ideal tool for those who want detailed and precise formatting.
Conclusions and final tips
Formatting colors and borders in Excel is an art that can radically transform the visual and functional quality of your spreadsheets. Even with a few adjustments, like choosing the right color or applying thick outer borders and thin internal borders, you can create clean, clear, and professional documents.
I invite you to experiment with the options seen in this guide, trying different colors and border styles, to find the design that best fits your needs. Remember that a well-formatted sheet not only improves readability but also makes presenting data to colleagues, clients, or superiors much simpler.
In upcoming guides, we will see how to format entire tables, manage text and data even more effectively to make your Excel sheets a powerful and versatile tool.
Thanks for reading this guide, I wish you happy formatting and a wonderful day!
FAQ: Frequently asked questions about cell formatting in Excel
1. How can I quickly apply the same color to multiple cells in Excel?
Simply select all the cells you want to color, then click on the paint bucket icon and choose the desired color from the menu. Alternatively, you can use the 'Format Painter' feature to duplicate formatting from one cell to another.
2. Can I use custom colors for cells?
Yes, by clicking on “More Colors” in the paint bucket menu, you can create custom colors using RGB values or manually choosing from the color palette.
3. How do I remove borders from a cell or cell group?
Select the cell or range, click the arrow next to the borders button, and choose “No Border”. This will remove all applied borders.
4. Is it possible to apply diagonal lines inside a cell?
Yes, in the “More Borders” window or in the “Border” tab of the “Format Cells” window, you can select diagonal lines to split the cell diagonally.
5. How can I combine thin internal borders with thick outer borders?
Select the group of cells, first apply “All Borders” for the thin internal borders, then apply “Thick Outside Borders” for the outer contour. This will give you a well-defined and professional table.