An orderly and well-aligned spreadsheet is not only more pleasant to look at, but is also more professional and easier to consult. In this article, I will guide you to discover the full potential of alignment in Excel, revealing all the tools and tricks to master text alignment in your cells, from basic functions to the most advanced techniques. Whether you are a beginner or an experienced user, by the end of this guide you will know how to make your Excel sheets flawless and professional.

Table of contents
- Introduction to alignment in Excel
- Horizontal and vertical alignment: the basics
- Managing indentation and text orientation
- Wrap text and managing long text
- Merge cells: when and how to use it
- Advanced alignment settings
- Custom text rotation
- Conclusion
- FAQ - Frequently asked questions on alignment in Excel
Introduction to alignment in Excel
When working with Excel, the arrangement of text and numbers inside cells is fundamental to improve readability and presentation of data. Alignment is not limited to just moving text to the left, center, or right, but also includes vertical alignment, text orientation, long text management, and other advanced functions.
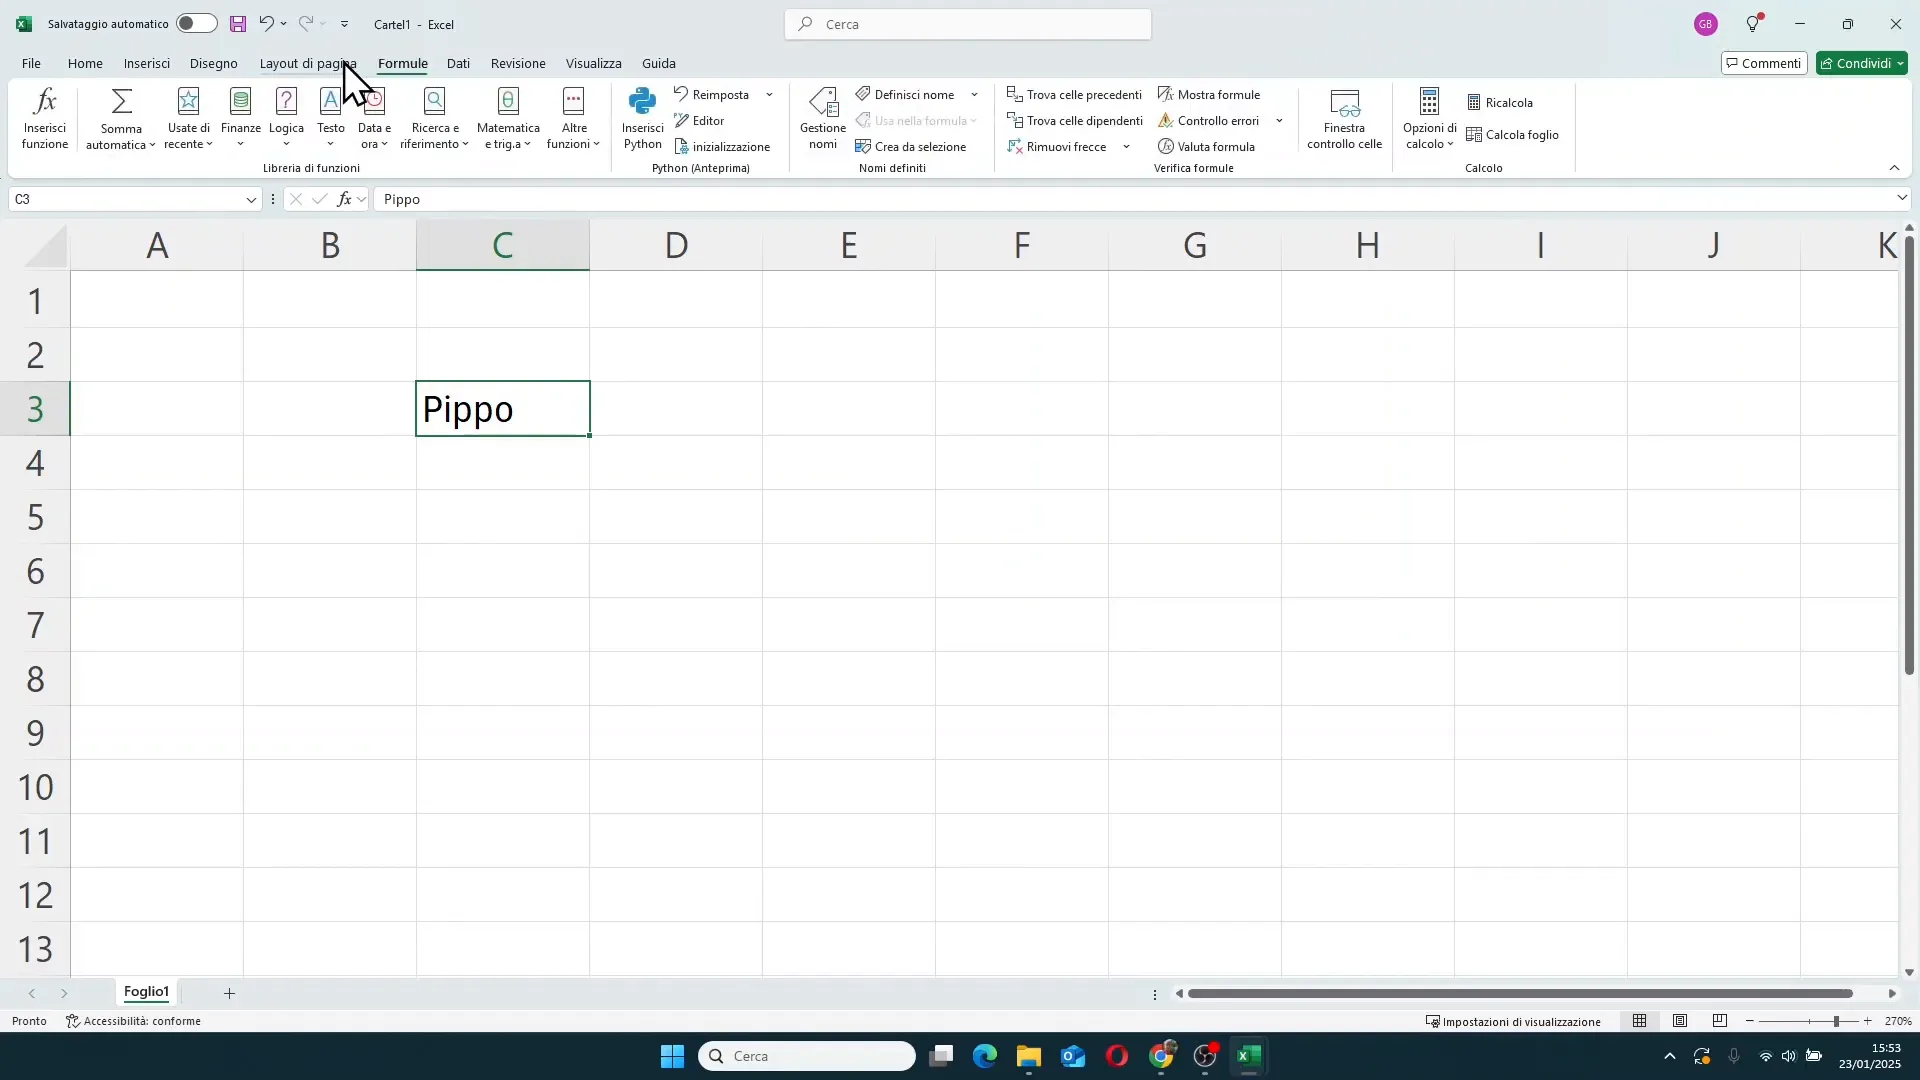
The starting point for managing alignment is the ribbon, specifically the “Alignment” group in the Home tab. If for some reason you cannot find this section, you can also use the CTRL + 1 keyboard shortcut to open the cell formatting window, where you will find all the alignment options.
Horizontal and vertical alignment: the basics
By default, Excel applies automatic alignment: text is positioned at the bottom left of the cell, while numbers are aligned at the bottom right. However, you can easily change this setting to suit your needs.
In the Home tab, in the Alignment group, you will find two main sections:
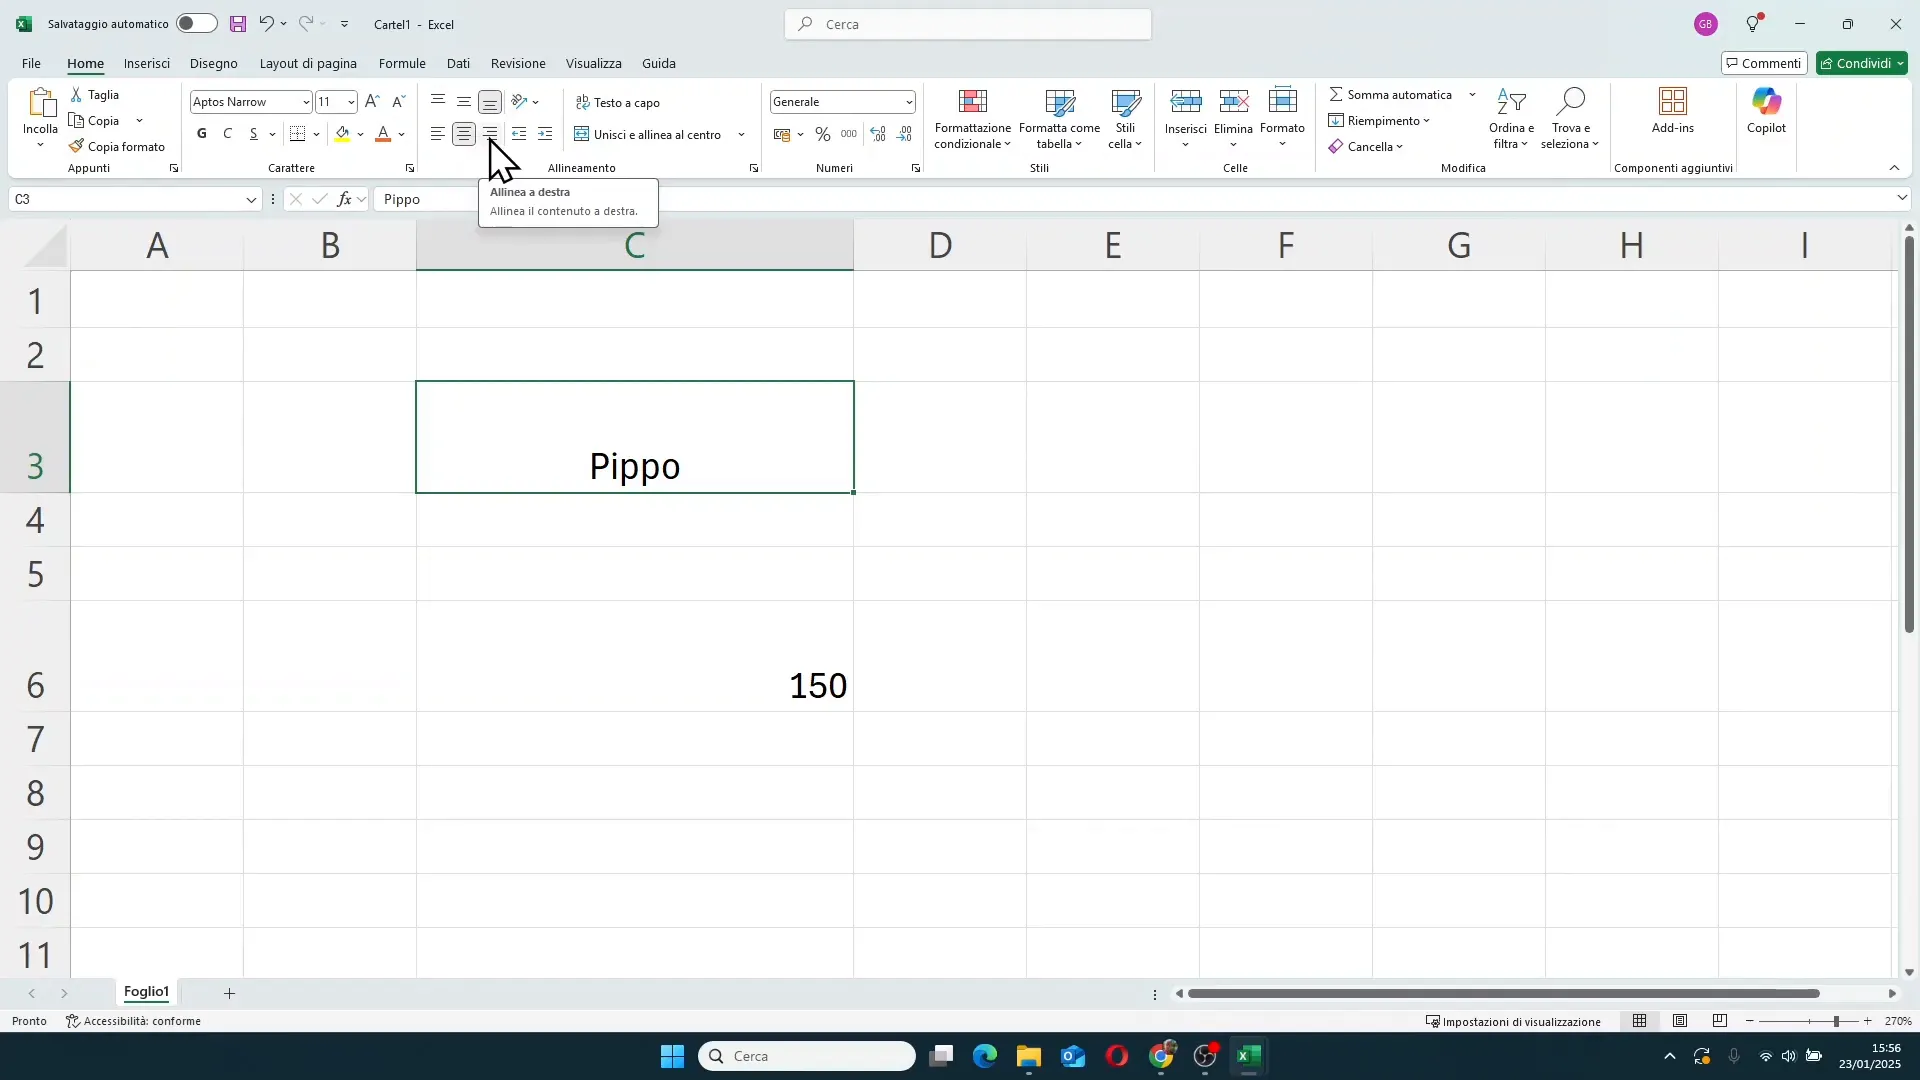
- Vertical alignment: allows you to position the text at the top, middle, or bottom of the cell.
- Horizontal alignment: allows you to move the text to the left, center, or right relative to the cell.
For example, by clicking on *Align Top*, the text will move to the upper part of the cell, while with *Middle Align* the text will be perfectly centered vertically. The same goes for horizontal alignment: you can choose to position the text to the left, center, or right.
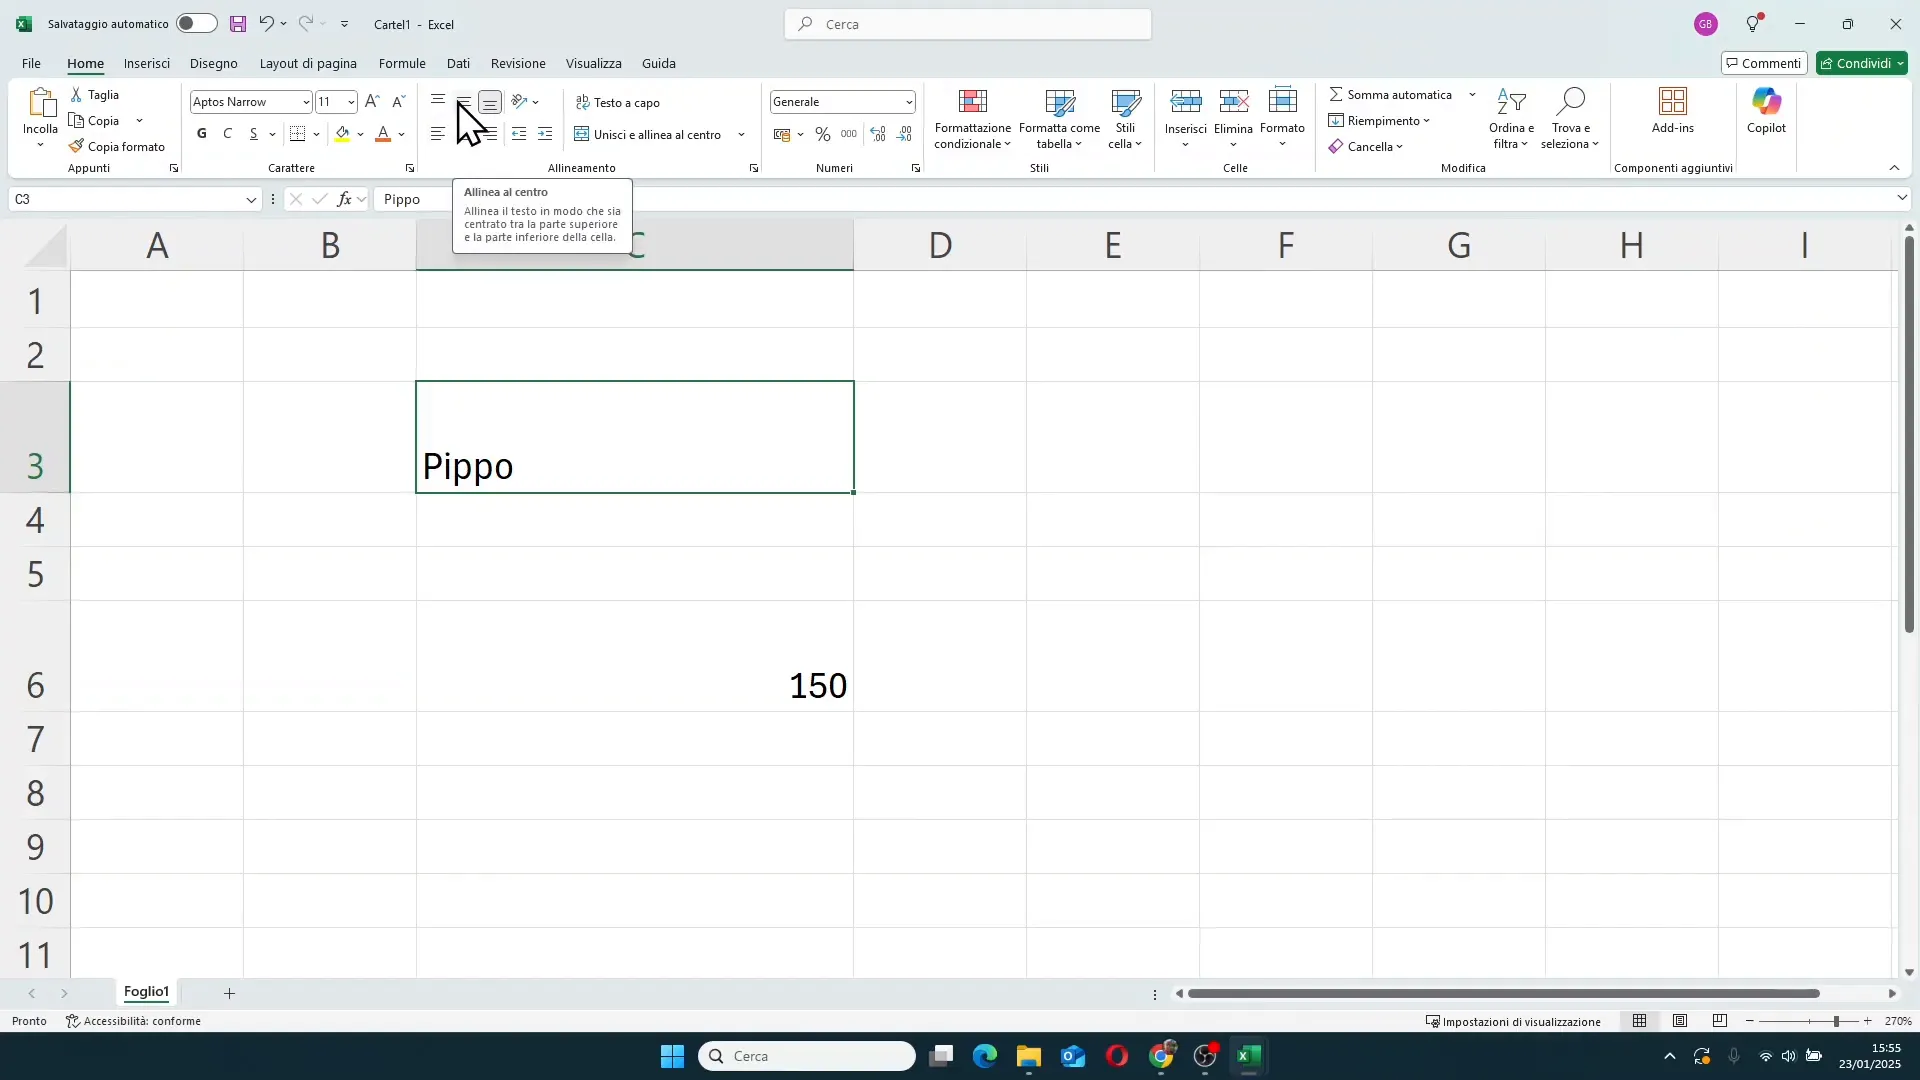
These alignments can be combined to position the text exactly where you want. For example, you can center the text both horizontally and vertically, thereby obtaining an orderly and balanced look even when you change column widths or row heights.
Managing indentation and text orientation
When text is left-aligned, next to the alignment buttons you will also find the options **Increase Indent** and **Decrease Indent**. These commands allow you to move the text further forward or closer to the left edge of the cell, useful for creating an indentation effect or for improving readability.
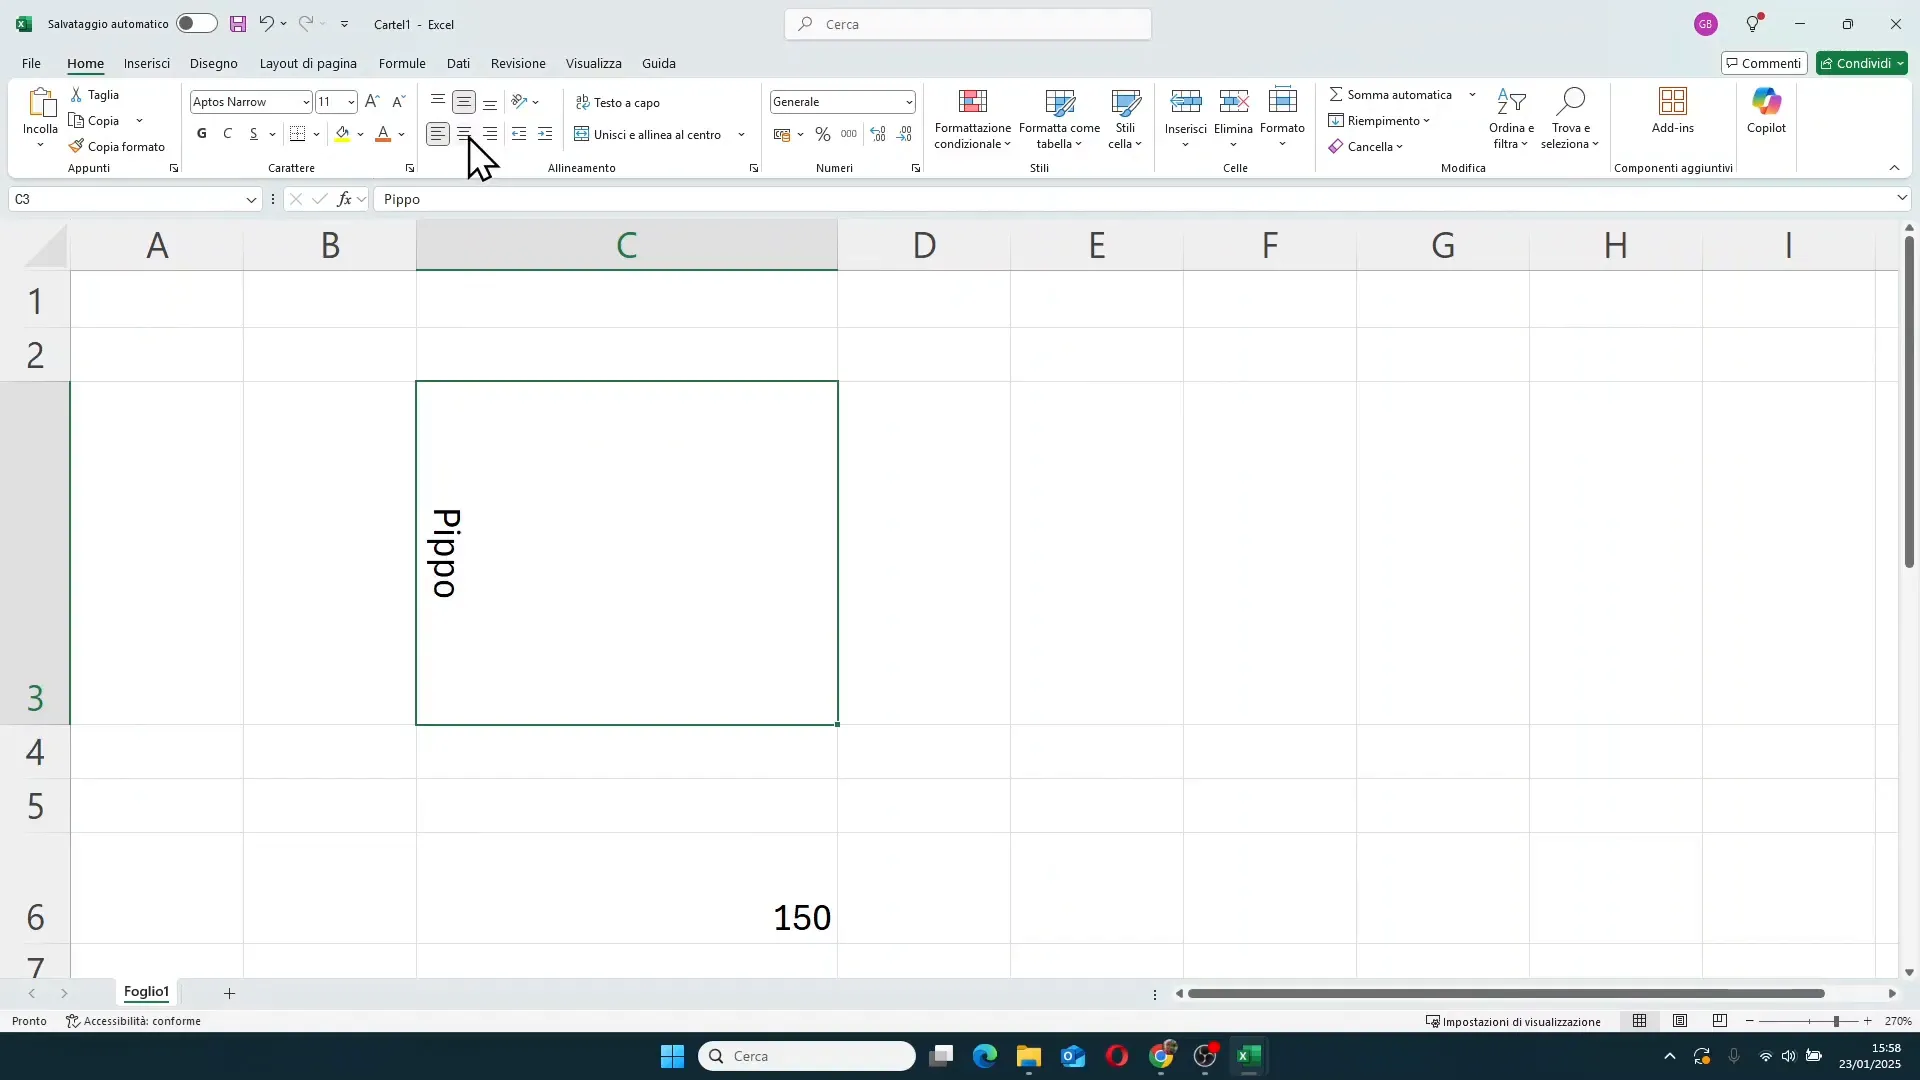
Another very interesting function is **text orientation**, accessible in the alignment group as well. Here you can rotate the text by 45 degrees clockwise or counterclockwise, position it vertically, or even write letters one below the other, vertically.
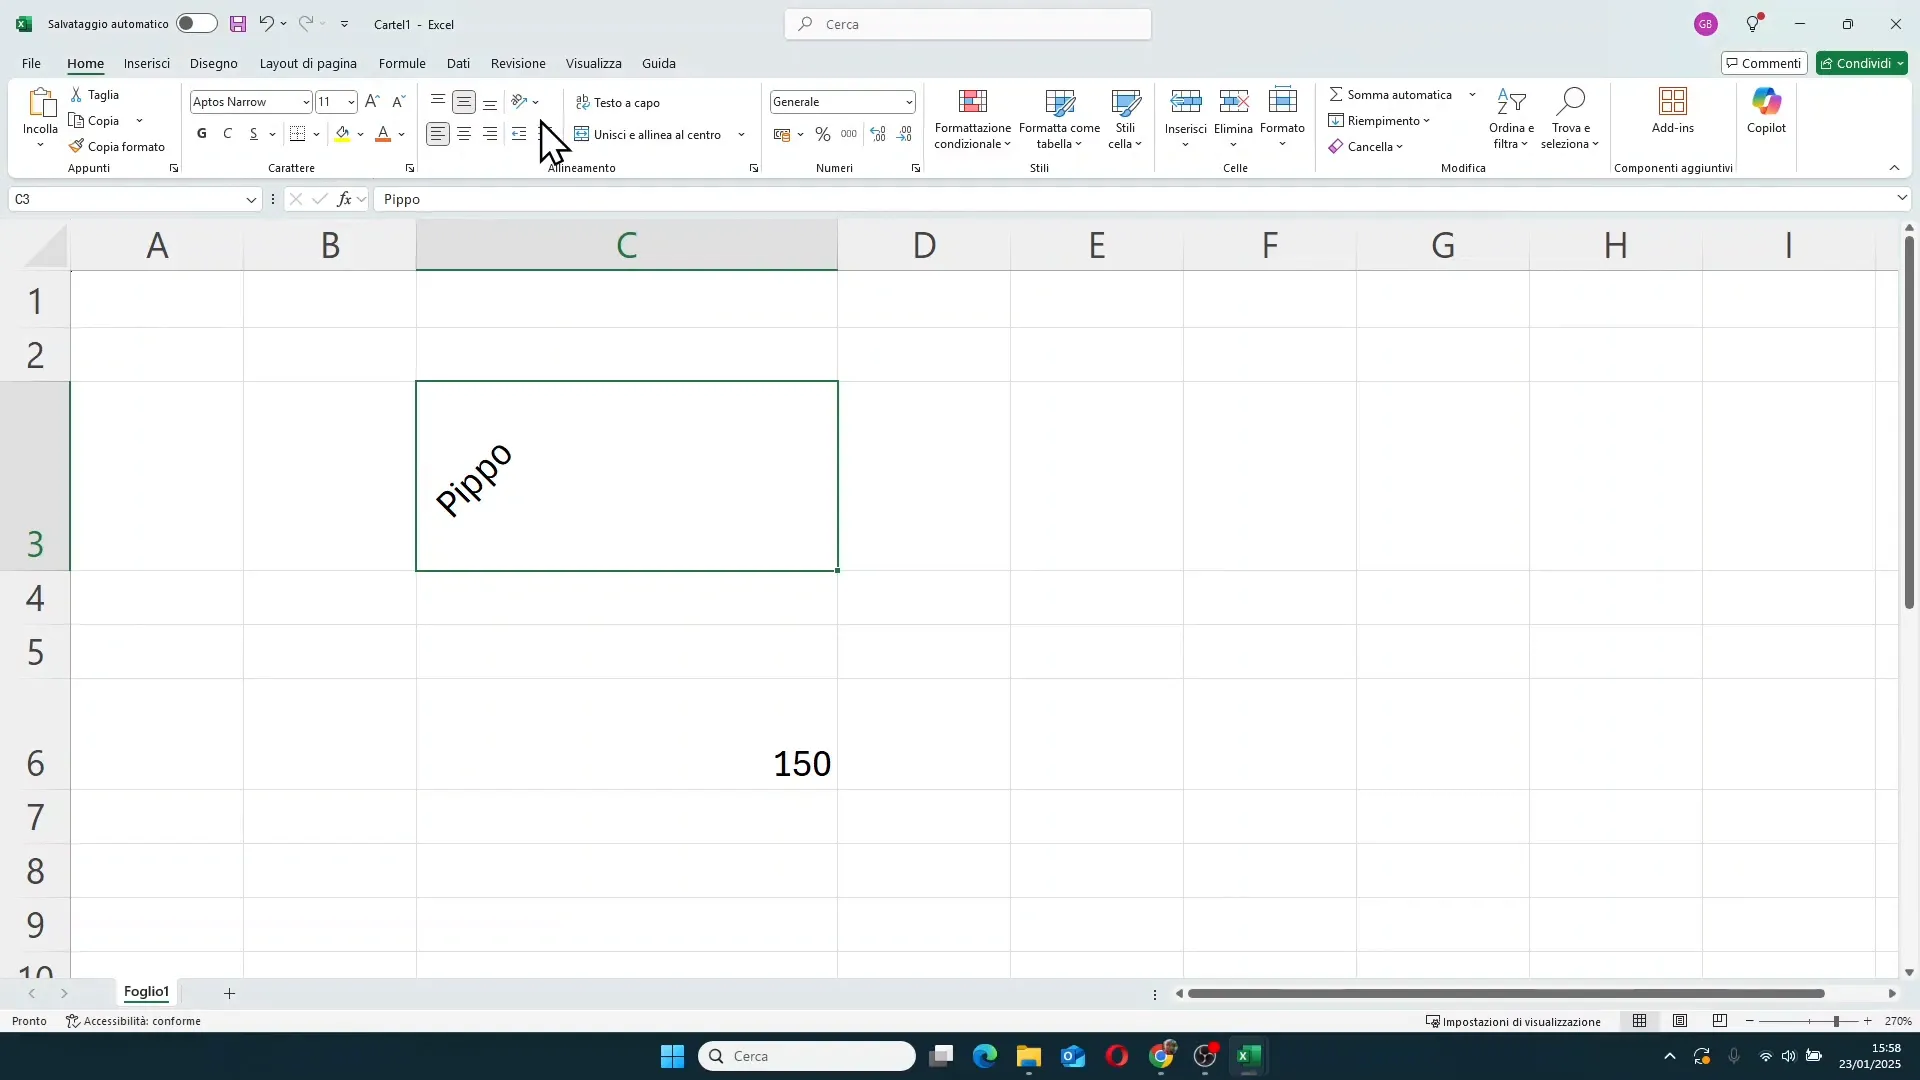
This function is particularly useful when you have narrow column headers or want to give a special graphic touch to the spreadsheet.
Wrap text and managing long text
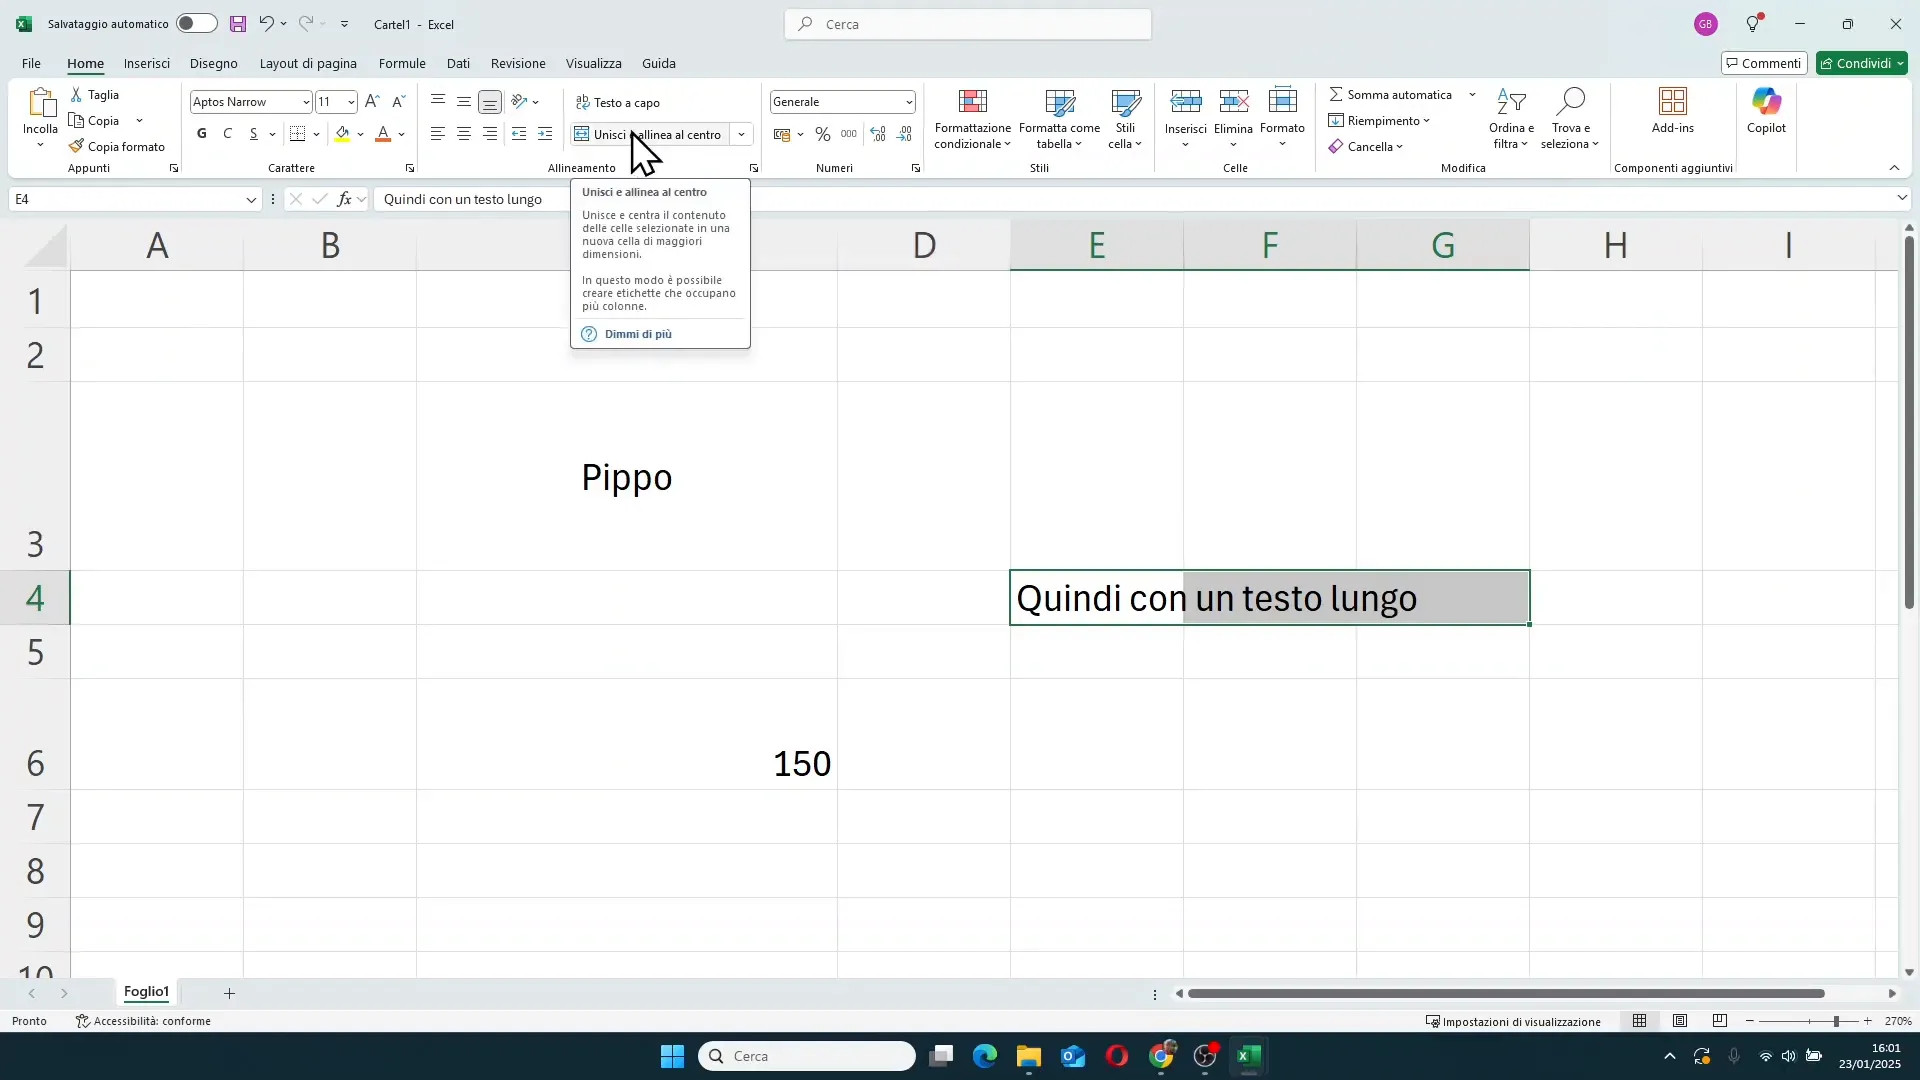
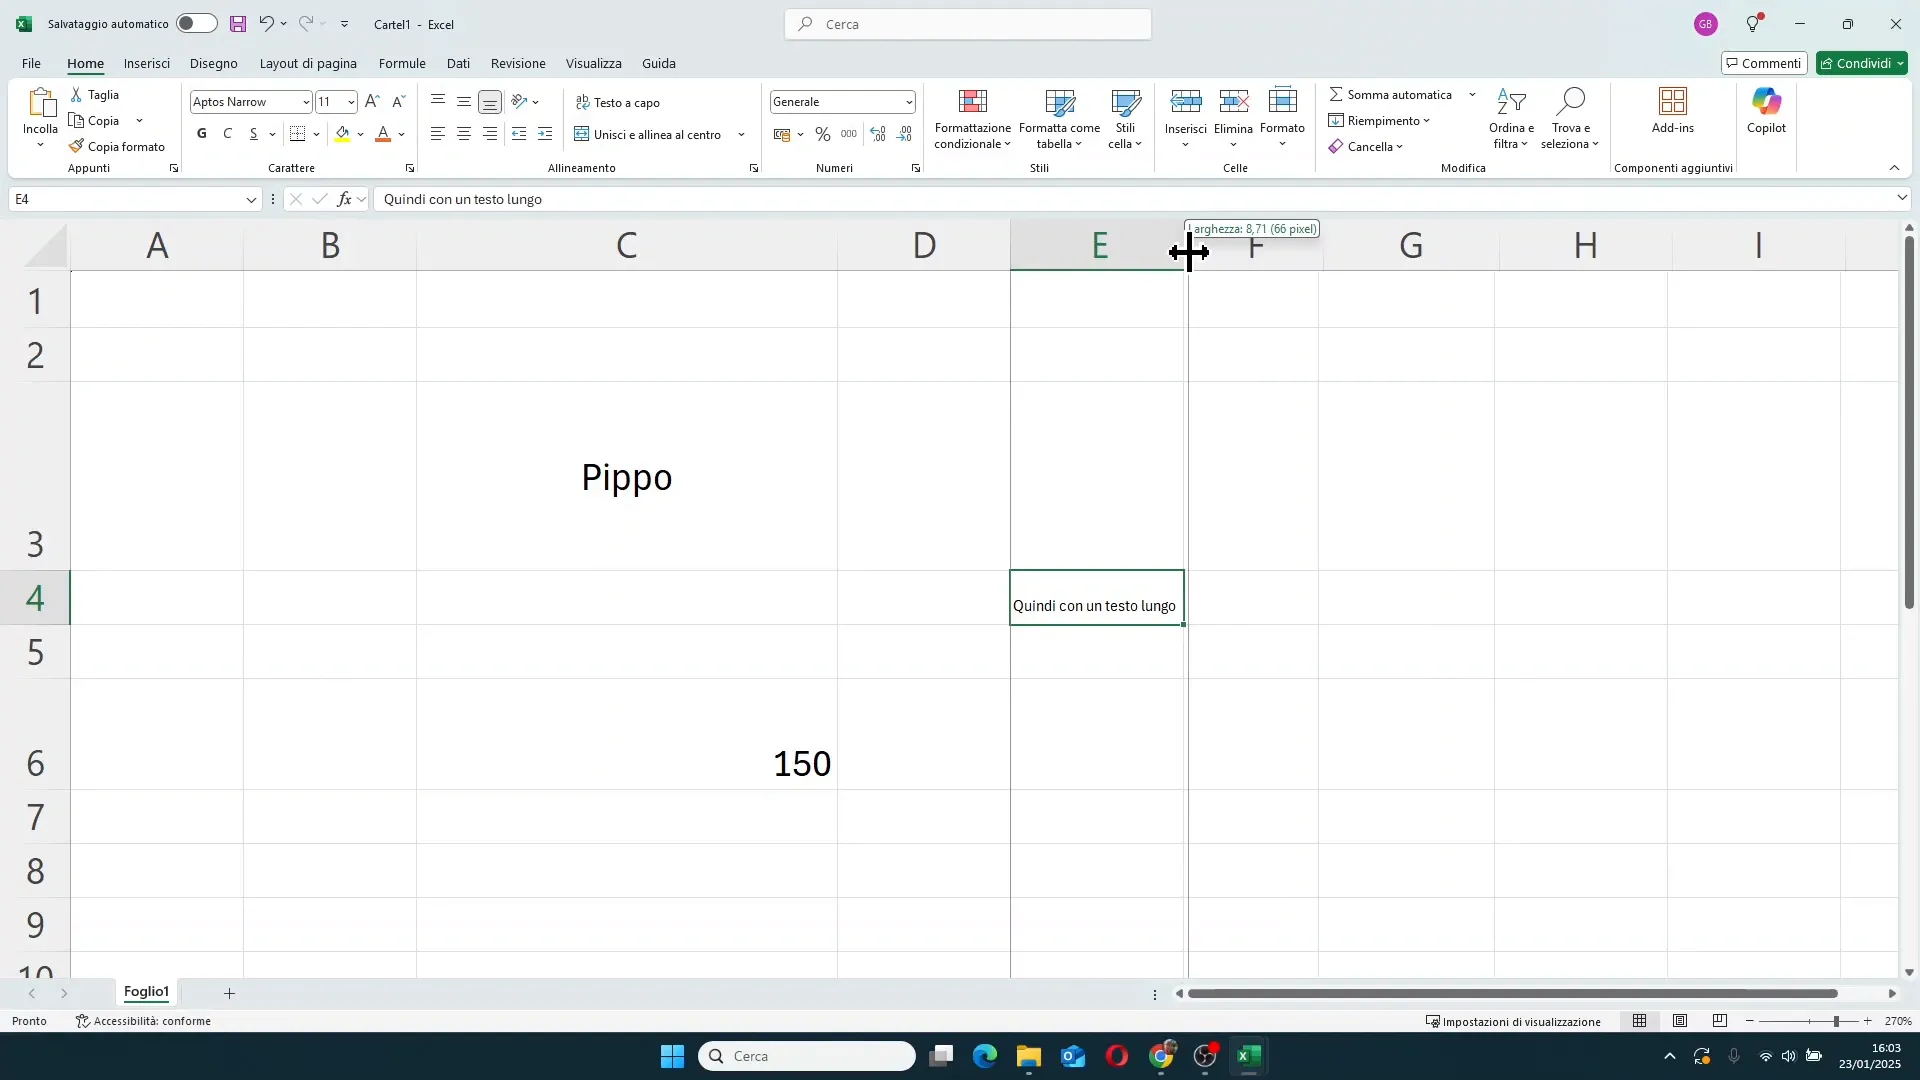
When you write text that exceeds the column width, Excel displays it beyond the cell boundaries, overlapping adjacent empty cells. This can create confusion and make reading the sheet unclear.
To solve this problem, you can use the **Wrap Text** button. When activated, Excel will automatically wrap the text based on the cell width, adapting the view to multiple lines within the same cell.
If the column is wide, the text will appear on a single line; if the column is narrowed, the text will distribute over multiple lines, always keeping all content visible without overlap.
Disabling wrap text will return the text to its original view, extending beyond the cell boundaries.
Merge cells: when and how to use it
Another function related to alignment is **cell merging**. If you have a long text that visually occupies multiple cells, you can select these cells and click on *Merge & Center*. By doing so, the selected cells will become a single, larger cell, with the text centered relative to the entire new area.
Personally, I often advise against using this function because it can complicate operations like filtering or sorting data, but in some specific cases, it can improve the aesthetics of the sheet.
To disable merging, just select the merged cell and click again on *Merge & Center*.
Advanced alignment settings
To access more detailed alignment settings, you can open the **Format Cells** window with the shortcut **CTRL + 1** or by right-clicking on the cell and selecting *Format Cells*.
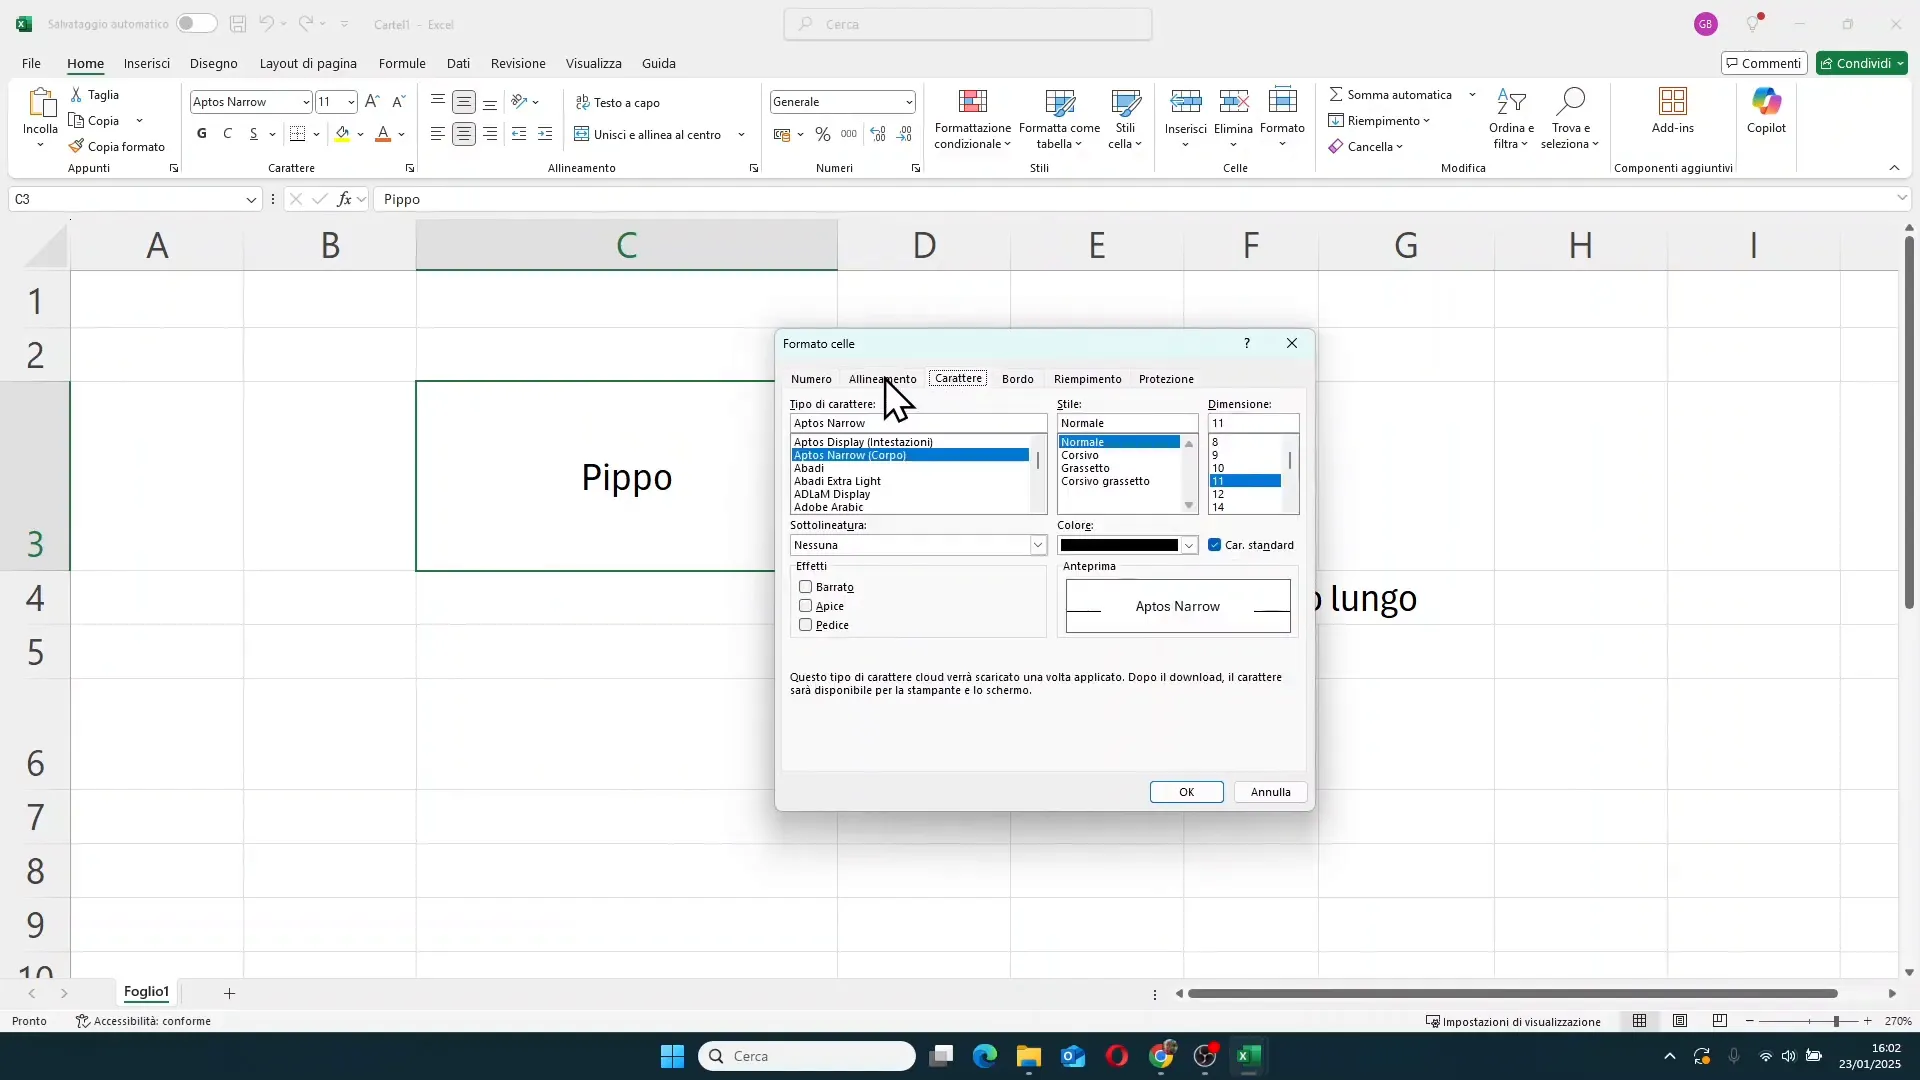
Here you will find many additional options:
- Horizontal alignment: in addition to the classic options (left, center, right), you can choose *fill*, *justify*, or *center across selection*.
- Vertical alignment: in addition to top, center, and bottom, you can use *justify* and *distributed*, which distribute the text more evenly inside the cell.
- Wrap text: activatable also from here.
- Merge cells: option to merge selected cells.
- Shrink to fit: function that automatically reduces the text size to fit the column width.
Shrink to fit: the trick for long text
The Shrink to fit function is very useful when you have a long text and do not want to widen the column. When activated, Excel automatically reduces the font size until the text fits in the cell without wrapping or overlapping neighboring cells.
For example, if you set a maximum font size (say 36), the text will enlarge up to that limit when you widen the column, but will automatically shrink if you narrow the column, keeping everything visible.
It is an elegant solution to keep sheets tidy without having to manually modify column widths or text size.
Custom text rotation
In addition to preset rotations of 45 degrees or vertical, in the *Format Cells - Alignment* window you can set a custom text rotation, from -90 to +90 degrees.
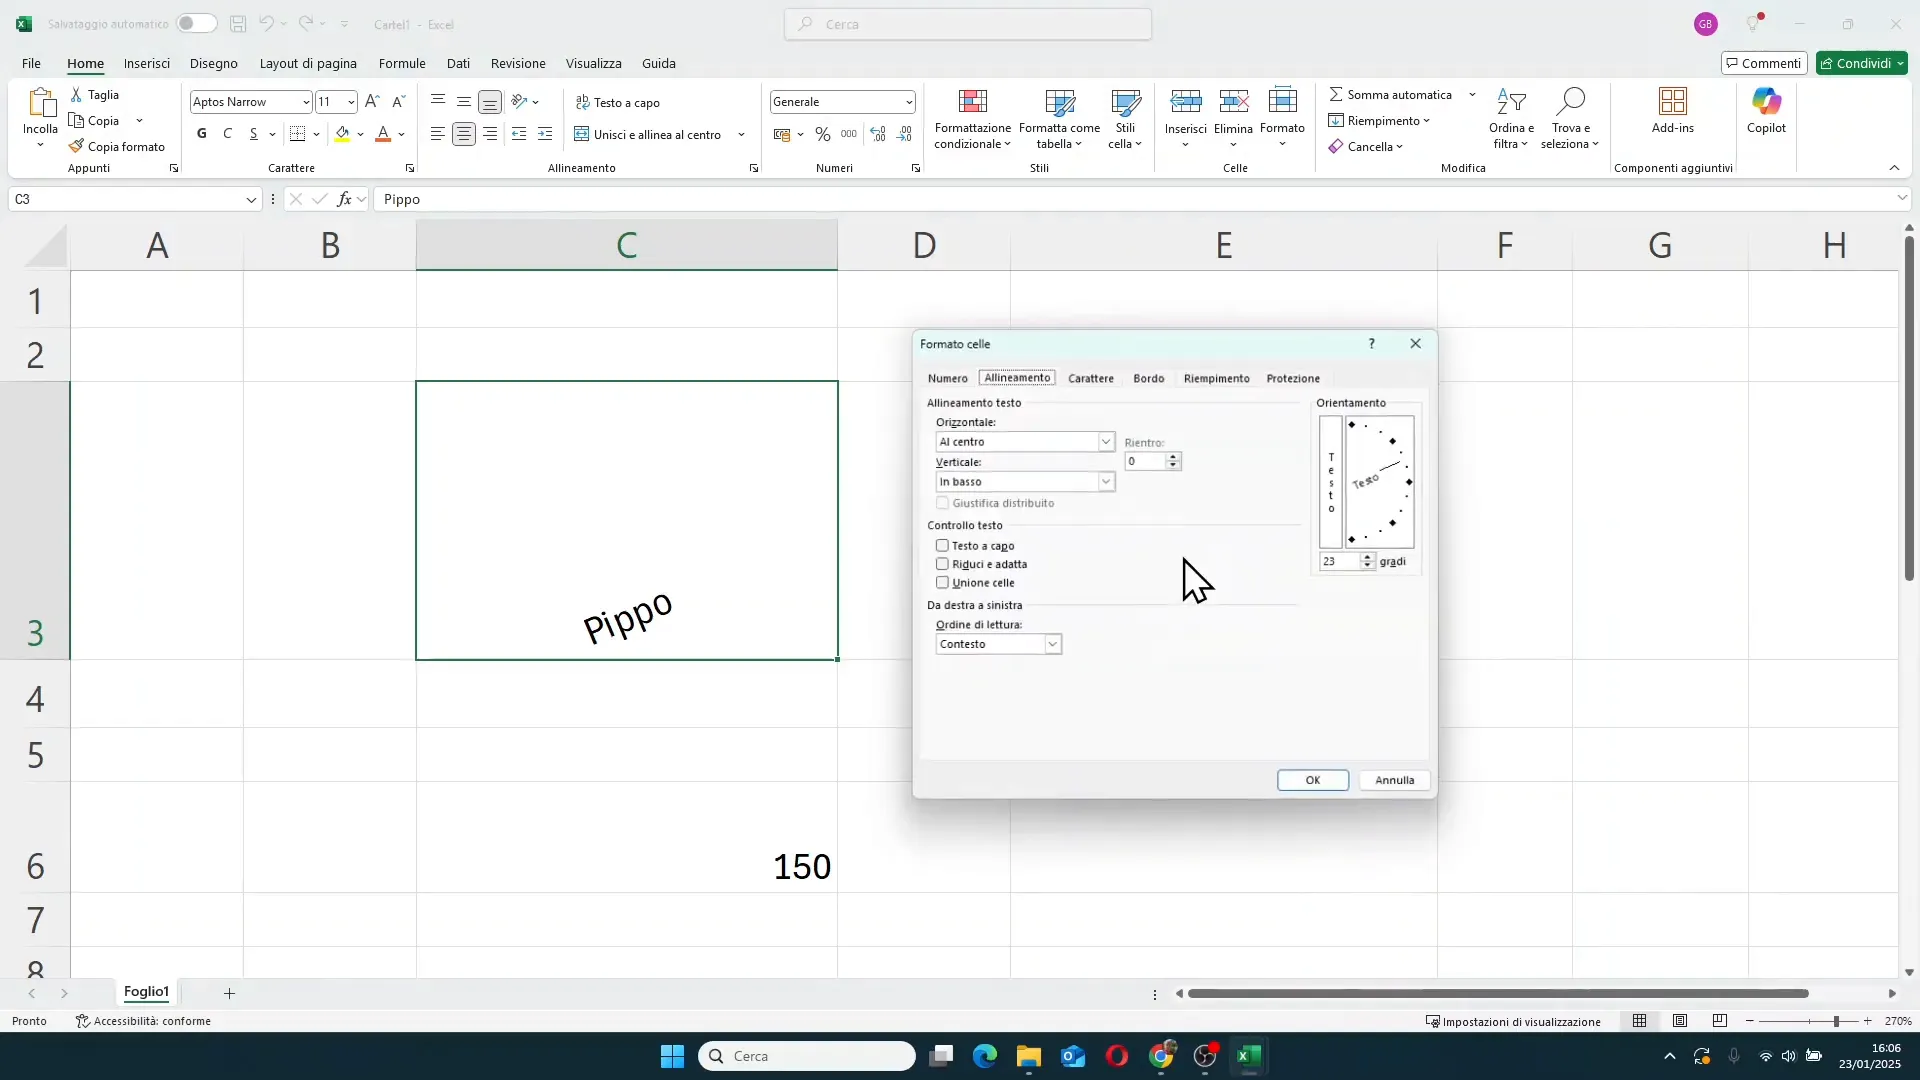
This allows you to write the text at any angle you desire, for example for very narrow column headings or for special graphic effects.
Conclusion
As you have seen, alignment in Excel is much more than a simple aesthetic function: it is a fundamental tool to improve readability, order, and professionalism of your spreadsheets.
Knowing and being able to use all alignment options, from text orientation, wrap text, to more advanced functions like shrink to fit and cell merging, will allow you to create flawless, clear, and easy-to-consult documents, regardless of the type of data you manage.
Do not hesitate to experiment with these functions and customize your Excel sheets to get the most out of your work.
FAQ - Frequently asked questions on alignment in Excel
1. How can I center text both vertically and horizontally in a cell?
Select the cell or cells concerned, then in the Home tab, in the Alignment group, click on Center for horizontal alignment and on Middle Align for vertical alignment to position the text exactly in the center of the cell.
2. How do I make text wrap automatically in a cell?
Select the cell, then click the Wrap Text button in the alignment group of the Home tab. The text will automatically adjust to the cell width, wrapping onto multiple lines.
3. When is it convenient to use the 'Merge cells' function?
Merging cells is useful when you want a long text to visually occupy multiple cells merged into one, for example for titles or headings. However, it is advisable to use it with caution because it can complicate some data management operations.
4. What does the 'Shrink to fit' function do?
This function automatically reduces the text size so that it fits within the cell width without wrapping or overlapping other cells. It is ideal for long texts in narrow columns.
5. How can I rotate text in a custom way?
Select the cell, press CTRL + 1 to open Format Cells, then in the Alignment tab use the orientation selector to set the desired rotation angle between -90 and +90 degrees.
For further details and customized courses on Excel, you can visit the official website www.gianlu.it.